Chocolate & Nut Date Balls- chocolate cravings killer

These sticky treats are not your grandma’s date balls. They are fudgy and packed with chocolate flavour. I added a lot of nuts, probably more than you might want, but they are tasty. And they are easy to adjust to what you have on hand or what your tastes are. I am often finding myself pining for chocolate and these have successfully satisfied those cravings time and again. They keep wonderfully in the fridge and travel well. While I happily used my food processor that I got from my friend Kim, these could be made without it by chopping things up very small by hand and mixing well, though they will be less fudge-like. They are pretty darn healthy, there is no butter or sugar added as the dates act as both.

Chocolate & Nut Date Balls

INGREDIENTS

  • 2 1/2 cups of pitted medjool dates (can be whole, chopped, whatever. You are processing them)
  • 1 1/2 tsp vanilla
  • 1/2 cup walnuts
  • 1/4 cup sliced almonds
  • 1/2 cup salted cashews (I just had these on hand and they were awesome, the saltiness added a new dimension)
  • 1/2 cup shredded coconut
  • 2-4 tbsp cocoa powder (start with two and work up to your desired fudginess)
  • 1/3 cup dried oats (whole oats if you are using a food processor; quick oats if not, as they are already chopped up)
  • 2 tbsps of semi-sweet chocolate chips are optional (totally not necessary but will further amp the chocolate factor)

DIRECTIONS

  1. Chuck everything into the food processor and blend. Start with only 2 tbsp of cocoa powder and add more as needed. If the texture isn’t coming together more dates will add the necessary stickiness. Add more nuts, coconut, dried fruit, etc. as desired.
  2. Once things have been chopped down to your taste, roll into balls, place in a tupperware and refrigerate to firm them up. Feel free to roll these in some additional cocoa powder or coconut.
  3. If you are making these by hand, which is definitely possible, chop all the ingredients that need it, as well as you can. Pop everything into a bowl and stir aggressively (that’s right, aggressively!) to combine. You are looking for the ingredients to stick together and distribute evenly.
  4. Eat morning, noon, and night.

All the good stuff, ready to mingle.

Buttermilk Biscuits + Lentil Soup with coconut milk and red lentils

This delicious, vegetarian and VEGAN, soup was made by my mother while we were up in the Yukon a couple weeks ago. She got the recipe from her friend Karen, and I got the recipe from my mom. It is hearty and delicious. We mopped the soup up with my mom’s throw-together buttermilk biscuits, which Gen LOVED. This soup will help sop up the alcohol in your system after munching the treats below.

Lentil Soup

INGREDIENTS

  • 2 cups red lentils
  • 2 tbsp olive oil
  • 2 small onions, finely chopped
  • 3 large carrots, chopped small
  • 4-6 cloves garlic, minced
  • 4-6 tsp turmeric
  • 4-6 tsp cumin seed
  • 12 tsp cracked black peppercorns
  • 1 can(796 ml) chopped tomatoes
  • 6 cups vegetable broth
  • 1 can coconut milk (398 ml)
  • 12 fresh lemon squeezed

DIRECTIONS

  1. In a large pot, heat oil over medium heat. Add onions and carrots and cook, stirring, until softened, about 15 minutes.
  2. Add garlic, turmeric, cumin seeds, and peppercorns and cook, stirring for about 2 minutes.
  3. Add your water, lentils, and tomatoes. Bring to a boil, then reduce heat and simmer at med. for 15 minutes.
  4. Add coconut milk and lemon juice. Bring to a boil, then reduce heat and let simmer for at least 1 hour.
  5. In the meantime, make biscuits!
  6. When ready to serve, ladle into bowls and top with lemon slices, a dollop of plain yogurt, and cilantro!

Buttermilk Biscuits

INGREDIENTS

  • 2 cups all-purpose flour
  • 3/4 tsp salt
  • 3 heaping tsp baking powder
  • 1/2 cup margarine (or butter)
  • 3/4 buttermilk to start, more as needed

DIRECTIONS

A quick note: My mom has this recipe in her mind, so I am transcribing her instructions as given on the phone. Adding the milk is the contested bit as her instructions were “as much milk as needed to get the right consistency…” Okay.. thanks! Haha, so I’ve estimated to start with about 3/4 cup and go from there. You will probably use up to 1 1/2 cups, but start small!

  1. Preheat oven to 425°F.
  2. Whisk together flour, salt, and baking powder.
  3. Cut in the margarine with a pastry cutter, until the mixture is like pebbles. You want marg bits the size of peas, evenly through the flour mixture.
  4. Pour in the buttermilk and mix until a sticky dough has formed. Add more buttermilk as needed, but don’t overmix. Once it has come together, you are done.
  5. Plop the dough onto a lightly-floured surface. Pat the dough into a roughly even, thick circle. My mom emphases the need to keep the biscuits are thick!
  6. Cut out circles with a glass dipped in flour. Place on a baking sheet and bake for 9 minutes, or until golden. Pull one open to check for doneness, it should be fluffy.

Veggies getting their sweat on.

Mom insists that the most important part of the recipe is a chunk of carrot for the dog.

Getting ready to cook it all down a bit.

Cutting the butter into the flour. Biscuit time!

This shot was made possible only after I told mom, “No, it needs to be pouring out. Pooooourrring out” I got a sassy look.

Biscuits of heaven. They are fluffy on the inside with the perfect crunch on the outside.

The holy grail of recipes, my mom’s recipe book. One day I’d like to transcribe this for my sister and I.

Yuca Fries- If bread and potatoes had babies, it would be yuca.

Genesis gets excited once in awhile about food from his country, El Salvador. One of these things is yuca. We don’t have it often, but it is always a treat when we do. The texture of yuca is fluffy, and dense. It is like a super rich potato crossed with fluffy bread. You’re confused, I understand, just trust me. Oh, and yuca looks like a waxy log, and when you peel it it smells like lavender… so there’s that too. But, once you’ve peeled it, cut out any brown spots, boiled it briefly, and baked it, you have awesome fries. Give it a shot! Hell, I might even try mashing them, I’ve heard good things!

Waxy logs, see, I told you! Scroll down for the interior-deliciousness.

Yuca Fries

Ingredients

  • Two yuca roots (see above)
  • your favourite oil
  • salt

Directions

  1. Preheat your oven to 400°F.
  2. Peel your yuca well. It is easy to do, that skin is not as thick as it looks and feels.
  3. Cut the yuca into three even chunks, cut those chunks into fry-sized wedges.
  4. Fill a large pot with water and some salt, bring to a boil. Add yuca. Boil your yuca for 8 minutes, this will help the baking.
  5. Drain the yuca and pat dry. Some of the yuca might seem a little gummy, this will sort itself out during baking.
  6. Lay the yuca on a parchment-covered cookie sheet and drizzle well with oil. Toss to coat. Sprinkle with salt (and spices of your choosing).
  7. Bake for 20-25 minutes, flipping once, until crisp and browned on the outside, creamy on the inside.
  8. Dip into Basil Aiolior even Walnut & Feta Dip!

Tasty (half batch) yuca fries with Walnut Feta Dip.

Kale and Feta Braid with pine nuts and caramelized red onion

As evidenced by my kale chips of yesterday, I bought a ton of kale that I needed to use up, and I wanted to try something new. My mom makes this killer chicken and broccoli braid, which I will make one day, and I thinking of that tasty loaf, I decided to use up my extra kale, some of the BUCKET of feta that Gen brought home from Costco, the red onions I have on hand, and those pantry favourites, pine nuts. This was easy, delicious, and perfect as a meal. I also finally made my challah bread perfectly, so HUZZAH!

Kale & Feta Bread

Time: 1 hour of rest for the challah + 15 minutes prep of braid ingredients + 30 minutes rest of braid + 30 minutes baking= 2hrs 15 mins to deliciousness (totally worth it)

Ingredients

  • 1 large red onion
  • 1 bunch of kale
  • 1/4 cup pine nuts
  • 1 1/2 cup feta
  • olive oil
  • salt and pepper to taste
  • 1 egg
  • 1 1/2 tbsp poppy seeds

Directions

  1. Make your challah dough! It has to rest for 1 hr, so prepare for this.
  2. After the challah has rested for about 45 minutes, start the rest of the braid, saves you time!
  3. Wash kale, cut out the spine, and sauté with a drizzle of oil in a pan over high heat for 5-8 minutes, until wilted. Salt and pepper to taste. Set aside on paper towel to absorb excess moisture.
  4. Sauté onions with another drizzle of olive oil over high heat. Cook for 5-8 minutes until translucent and beginning to brown.  Set aside.
  5. Roll out 2/3 of the Challah dough (reserve the rest for some sugary rolls) into a rectangle, about 1/4-1/2 inch thick.
  6. Crumble the feta in a row down the centre of the dough. Layer the kale evenly on top of the feta, followed by the onions and pine nuts.
  7. Using a pizza cutter, cut 1 inch strips along the side of the dough. Twist the strips and pull across the filling, alternating sides. Fold the ends in and pinch to seal. Move the braid onto a parchmented cookie sheet. Allow to rest for 30 minutes.
  8. Preheat oven to 350°F.
  9. In a small bowl, beat the egg with a fork and brush onto the braid. Sprinkle with poppy seeds.
  10. Bake the braid for 20-25 minutes.

Step-by-step!

  1. Make your challah dough! It has to rest for 1 hr, so prepare for this.

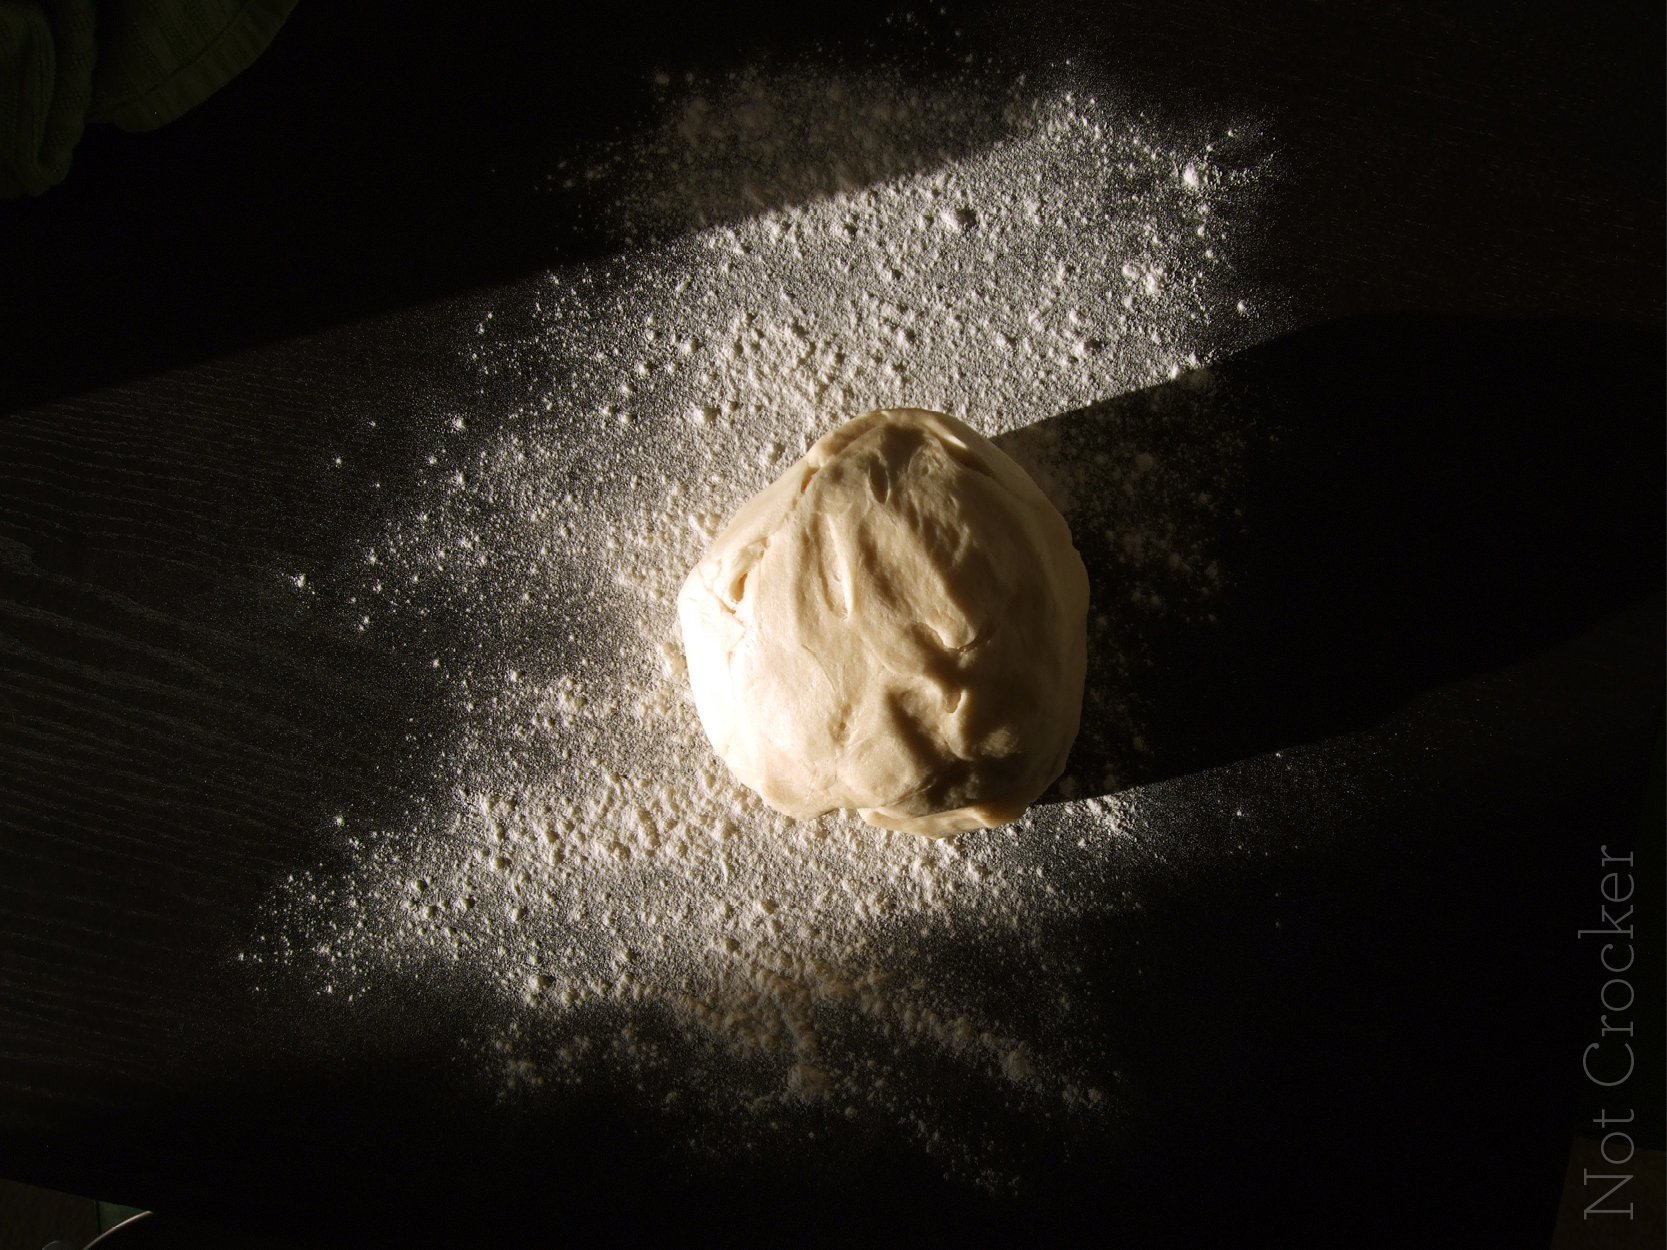
    Dough ready to roll.

  2. After the challah has rested for about 45 minutes, start the rest of the braid, saves you time!
  3. Wash kale, cut out the spine, and sauté with a drizzle of oil in a pan over high heat for 5-8 minutes, until wilted. Salt and pepper to taste. Set aside on paper towel to absorb excess moisture.
  4. Sauté onions with another drizzle of olive oil over high heat. Cook for 5-8 minutes until translucent and beginning to brown.  Set aside.

    Onions and kale, cooking down.

  5. Roll out 2/3 of the Challah dough (reserve the rest for some sugary rolls) into a rectangle, about 1/4-1/2 inch thick.
  6. Crumble the feta in a row down the centre of the dough. Layer the kale evenly on top of the feta, followed by the onions and pine nuts.

    Layered and ready for ‘braiding’

  7. Using a pizza cutter, cut 1 inch strips along the side of the dough. Twist the strips and pull across the filling, alternating sides. Fold the ends in and pinch to seal. Move the braid onto a parchmented cookie sheet. Allow to rest for 30 minutes.

    Resting away.

  8. Preheat oven to 350°F.
  9. In a small bowl, beat the egg with a fork and brush onto the braid. Sprinkle with poppy seeds.

    Egg-washed and poppy-seeded, ready for the oven!

  10. Bake the braid for 20-25 minutes.

So flipping tasty!

Kale Chips, easy and delicious treat that is healthy!

Kale is tasty when sautéed with some garlic, but I’ve been hearing so much about kale chips, that I had to try for myself. Kale was super cheap at IGA on the weekend, so I bought a couple bunches and gave it a shot. These are so thin and crisp, so delicious! Most of them kept their deep green colour, which I liked, but those that browned a little were still fantastic. These can be easily flavoured, and I am going to try that with my next batch, but the simple salt and olive oil version was great for a first shot. Don’t be afraid of these, I was, crispy greens is not something that normally tickles my fancy, but this just seemed right.

Kale Chips

Three ingredients

  • 1 head of kale
  • 2 tbsps olive oil
  • salt to taste (I used about 1 tsp)

Directions

  1. Preheat oven to 280°F
  2. Wash your kale.
  3. Cut away the… spine… of the kale leafs. Cut the kale into 2-3 inch pieces.
  4. Place kale on a parchment-papered cookie tray, sprinkle with oil and toss to coat.
  5. Sprinkle with salt, toss again to evenly salt.
  6. Spread the pieces fairly evenly on the tray.
  7. Cook for ten minutes, gently flip, cook for another 10. Devour.

Tossed in oil, ready for some salt (and spices in the future, check back next week!)

Munching time! Gen loved these.