Saskatoon and Fruit Pies… an experiment of sorts. A wonderful experiment.

Living in berry country is great. Our friends, the Taylors have Saskatoon bushes out at their house on the lake and a couple weeks ago Natalie, their daughter, called to let us know that she had picked a batch of berries for us. Huzzah! Pies were to be made! We made these pies for Dad’s party, as they were another favourite of his. They were supposed to be straight Saskatoon berry pies but we realized that we didn’t have enough Saskatoons. So they were going to be Saskatoon and blueberry pies… but when Kellie and I got to baking we realized we didn’t even have enough of those two combined… so we frantically looked around the kitchen and assessed the fruit situation. We had oranges, bananas, five measly plums, and two apples. Huzzah! We quickly dismissed the bananas and oranges (whew) and started cutting up the rest of the fruit. We ended up with enough Saskatoon and blueberry filling to fill the first pie, I scooped out four scoop of that filling to round out the Saskatoon Blueberry Plum and Apple Pie. Both were huge successes and Mom really couldn’t tell the difference in them, the Saskatoons really took over the flavour profile perfectly. Enjoy!

Saskatoon Pie with variations

INGREDIENTS

+
Klondike Pastry (makes enough for the crust and tops of two pies)

  • 5 1/2 cups all-purpose flour
  • 1 1/2 tsp salt
  • 1 tsp baking powder
  • 3 tbsp brown sugar
  • 1 lb (2 cups) shortening
  • 1 egg
  • 1 tbsp vinegar
  • 3/4 cup cold water

+
Saskatoon and Blueberry Pie (makes one 9-inch pie)

  • 7 cups fresh or frozen Saskatoon berries
  • 1 cups fresh or frozen blueberries
  • 1/2 cup water
  • 1/4 cup lemon juice
  • 1 1/2 cup white sugar
  • 1/3 cup all-purpose flour

+
Saskatoon, Blueberry, Apple, and Plum Pie (yes, it is many things) (makes one 9-inch pie)

  • 1 cup fresh or frozen Saskatoon berries
  • 1 cup fresh or frozen blueberries
  • 2 apples, sliced and chopped
  • 4-5 small plums, roughly chopped
  • 1/2 cup water
  • 1/4 cup lemon juice
  • 1  cup white sugar
  • 1/3 cup all-purpose flour

DIRECTIONS

  1. Heat oven to 425°F.
  2. Prepare your Klondike Pastry:
    • 
    In a large bowl, whisk together your flour, salt, baking powder, and brown sugar. Cut in your shortening until you have pea-sized bits throughout.
    • In a small bowl, whisk together your egg, vinegar, and cold water.
    • Pour your egg mixture into the flour mixture and mix only until a dough forms, don’t over mix. Split dough in half, roll out each half to desired thickness, lay into your pie plate, press lightly to fill and cut around the edges. Re-roll left over dough to form the top. Cut a shape out of the top layer before laying it onto the fruit mixture.
  3. Onto the fruit! In a large saucepan, simmer berries (and apple and plums, if doing that version) with the water for 15 minutes.
  4. Stir the lemon juice into the fruit mixture, allow to cook for another 5 minutes.
  5. In a medium bowl, whisk together the flour and sugar, stir into the berry mixture.
  6. Pour the filling into your pie crusts. Place the top layer over the pie, pinch to seal the edges. If desired, use a pastry brush to brush the top with some milk and sprinkle with sugar.
  7. Bake at 425°F for 15 minutes, then reduce the oven temperature to 350°F  and bake for an additional 35 to 45 minutes, or until golden brown.

Delicious berry filling (pre-realization that we needed WAY MORE FILLING)

The first pie, gloriously filled.

The second pie, the four-fruit filling pie.

This Saskatoon berry shape is old and well used.

Pre-baking.

Post-baking.

Not back yet, but here is some tasty filler. Coconut Cream Pie, by request from Not Crocker’s padre (recipe for Gingersnaps included)

Dad’s doing fairly well, as well as he can. He’s certainly got his sense of humour. He has a steady flow of visitors each day, and more importantly, a steady flow of scotch. Today, his son-in-law brought him a bottle of Johnnie Walker Blue Label and we all enjoyed the smooth delicious blend of ridiculously expensiveness. I am looking forward to another paper cup with a scotch rock (granite frozen to cool the scotch without watering it down) and a splash of the good stuff tomorrow.

Dad asked the other day, for some pie, specifically apple… and then pumpkin…and finally coconut cream. So coconut cream pie it is! Kel and I got to making it that night and we had it the next day, the longer the flavours mellow, the better. And wow, super delicious. I really can’t think of a time when I’ve had coconut cream pie, and I’ve stayed clear of banana cream pie for the most part because it seems like one too many smooth textures, I need some textural variation. Well, coconut cream pie has some chewy bits of toasted coconut, a nice gingersnap crust and two different layers of creamy goodness. The pictures aren’t great because I am still in the midst of the Great Camera Fiasco of 2012. I left my battery charger up here in the Yukon in July. Mom and Dad were supposed to head south mid-August, so I made-do with the cord. Then all of this madness happened and I had to come north, a month after I left it here. Well, I get off the plane and tell mom how excited I am to charge my camera battery (it’s the small things, clearly) and she tells me that she mailed it the day before. Curses! Anyway, the iPhone photos can’t take away from the scrumptious pie. Make it. Love it. Tell me all about it.

Coconut Cream Pie

Lightly adapted from Anna Ols0n. 

INGREDIENTS 

Gingersnap Crust

  • 3/4 cup + 1/3 cup butter, room temperature
  • 1 cup brown sugar, packed
  • 1/4 cup molasses
  • 1 egg
  • 2 1/4 cups all-purpose flour
  • 2 tsps baking soda
  • 1/2 tsp salt
  • 1 tsp ground ginger
  • 1 tsp ground cinnamon
  • 1/2 tsp ground cloves
  • 1/2 tsp cardamon
  • sugar, for coating

Coconut Filling

  • 2/3 cup sugar
  • 2 1/2 tbsp cornstarch
  • 1 tsp salt
  • 2 1/4 cups coconut milk
  • 2 whole eggs
  • 2 egg yolks
  • 1 tsp vanilla extract
  • 2 tbsp butter
  • 1 cup shredded coconut, lightly toasted**

Cream Topping

  • 1 1/2 cups whipping cream
  • 1/4 cup sugar
  • 1 tbsp skim milk powder
  • 1/4 cup coconut, lightly toasted **

DIRECTIONS

  1. The first step is to bake your gingersnaps.
  2. Heat oven to 350 °F.
  3. Cream 3/4 cup butter (reserve the 1/3 for later) and sugar together until light and fluffy. Stir in molasses and beat in egg.
  4. Add flour, baking soda, salt, and spices and stir just until blended.
  5. Roll spoonfuls of dough into balls and roll in a shallow dish of white sugar. Place 2 inches apart on a greased or parchment-lined baking sheet and press flat with the palm of your hand, or a fork. Bake for 10 to 12 minutes, until edges are lightly browned. Remove from baking sheet to cool. If you just want gingersnaps, stop here. Eat cookies.
  6. To form the crust: grind cooled cookies in a food processor, or by hand (good luck!) and measure out 2 1/2 cups of crumbs (we used all but 6 cookies, which we munched on the next day). Melt the 1/3 cup butter and mix into crumbs. Press into a 9-inch pie pan (we also put some into a 4-inch tart pan so Dad could have his individual pie at the hospital) and chill until ready to fill.
  7. For filling: stir sugar, cornstarch, and salt together in a heavy-bottomed saucepot. Whisk in coconut milk, whole eggs, and egg yolks. Heat custard on low while whisking constantly for 5 minutes.
  8. **Turn oven to 400°F, spread coconut in a thin layer on a baking sheet. Bake for 5 minutes, stir on pan and toast for another 3-5 minutes until light brown. Some darker toasted shreds are totally ok. Reserve 1/4 cup for sprinkling on top.
  9. Back to the custard! Increase heat to medium and continue whisking until custard thickens and becomes glossy, about 5 more minutes. Remove from heat and strain. Stir in vanilla, butter, and toasted coconut. Stir until butter has melted. Pour immediately into chilled pie shell, let cool on the counter for 15 minutes, then chill completely before topping with cream, at least 4 hours.
  10. For cream topping: whip cream to a medium peak, and whisk in sugar and skim milk powder. Top coconut custard with whipped cream, and sprinkle remaining toasted coconut on top as garnish.

Coconut custard.

Fresh Fig and Frangipane Torte

I have always wondered about fresh figs. My only experience with figs at all has been in Newtons, and while I liked those, I couldn’t imagine the fresh fruit being particularly special. Finally, when cruising through the grocery story for other ingredients I decided to pick up some fresh figs. When I got home I cut one open and gave it a taste. I get it, they are yummy, though nothing in their flavour really stands out for me. The skin has a bit of a tart punch, but I wish it was more, and the flesh is slightly sweet but really muted. Overall I enjoyed it, but I really did want to make something special. So here we go, a torte with almonds and figs. I made a fairly standard almond torte, then whipped up a small batch of frangipane, an almond cream (of sorts) that elevated the figs and the almonds in the torte to a whole new level. Now, I did slightly burn the outside of my torte, sigh, but that is a product a poor pan, the centre is crumbly, buttery, perfection.

Fresh Fig and Frangipane Torte

Inspired by Orangette.

INGREDIENTS

Frangipane

  • 1/2 cup whole almonds
  • 1/3 cup sugar
  • 1/3 cup plus 1 tbsp butter, room temperature
  • 1 egg

Torte

  • 2/3 cup almond meal (make your own by pulsing whole almonds in a coffee grinder until they are fine, not too long though or you will make almond butter)
  • 1/2 cup all-purpose flour
  • pinch of salt
  • 1 tsp baking powder
  • 1/2 cup butter, softened
  • 1/2 cup sugar
  • 1 tbsp dark rum (I went with The Kraken, no surprize, but you can use any liquor you like here, or vanilla)
  • 2 eggs
  • 4 to 5 ripe figs, quartered

DIRECTIONS

  1. Frangipane: Heat the oven to 350°F.  Spread the almonds evenly on a baking sheet and roast for about 10 minutes, or until fragrant.  Transfer to a plate and let cool to room temperature.Put the almonds and the sugar into a food processor and process until fine.  Add the butter and the egg and pulse until well-combined. Set aside.
  2. Turn the oven to 375 F. Butter and flour a 9-inch cake pan.
  3. Take 1 cup of whole almonds  and in small batches, grind in a coffee grinder until you have a fine powder. Be careful not to over process. Empty into a measuring cup until you have 2/3 cup of almond meal. Remove and reprocess the large chunks of almonds.
  4. Whisk together the almond meal, flour, salt, and baking powder. Set aside.
  5. In a large bowl, beat the butter and sugar until pale yellow and fluffy.
  6. Add the rum, the dry ingredients, and the eggs. Beat well until everything is incorporated.
  7. Scrape the batter into your prepared pan and spread it out until even across the base of the pan.
  8. Dollop your frangipane in 5 parts on top of the cake batter and gently smooth in an even circle across the centre, leaving 1/4 inch at the edges.
  9. Arrange the fig pieces on top and bake for 40 minutes or until the top of the cake turns golden brown. A toothpick test should also come out clean.
  10. Run a knife along the edge of the pan and allow it to cool for 10 minutes. Flip the cake onto a plate, allowing it to come out of the pan. Then, place a rack on the bottom and flip it back over to cool for another 10 minutes.
  11. Serve alone or with a dollop of mascarpone whipped cream.

Homemade almond meal

A little dark, but super tender inside.

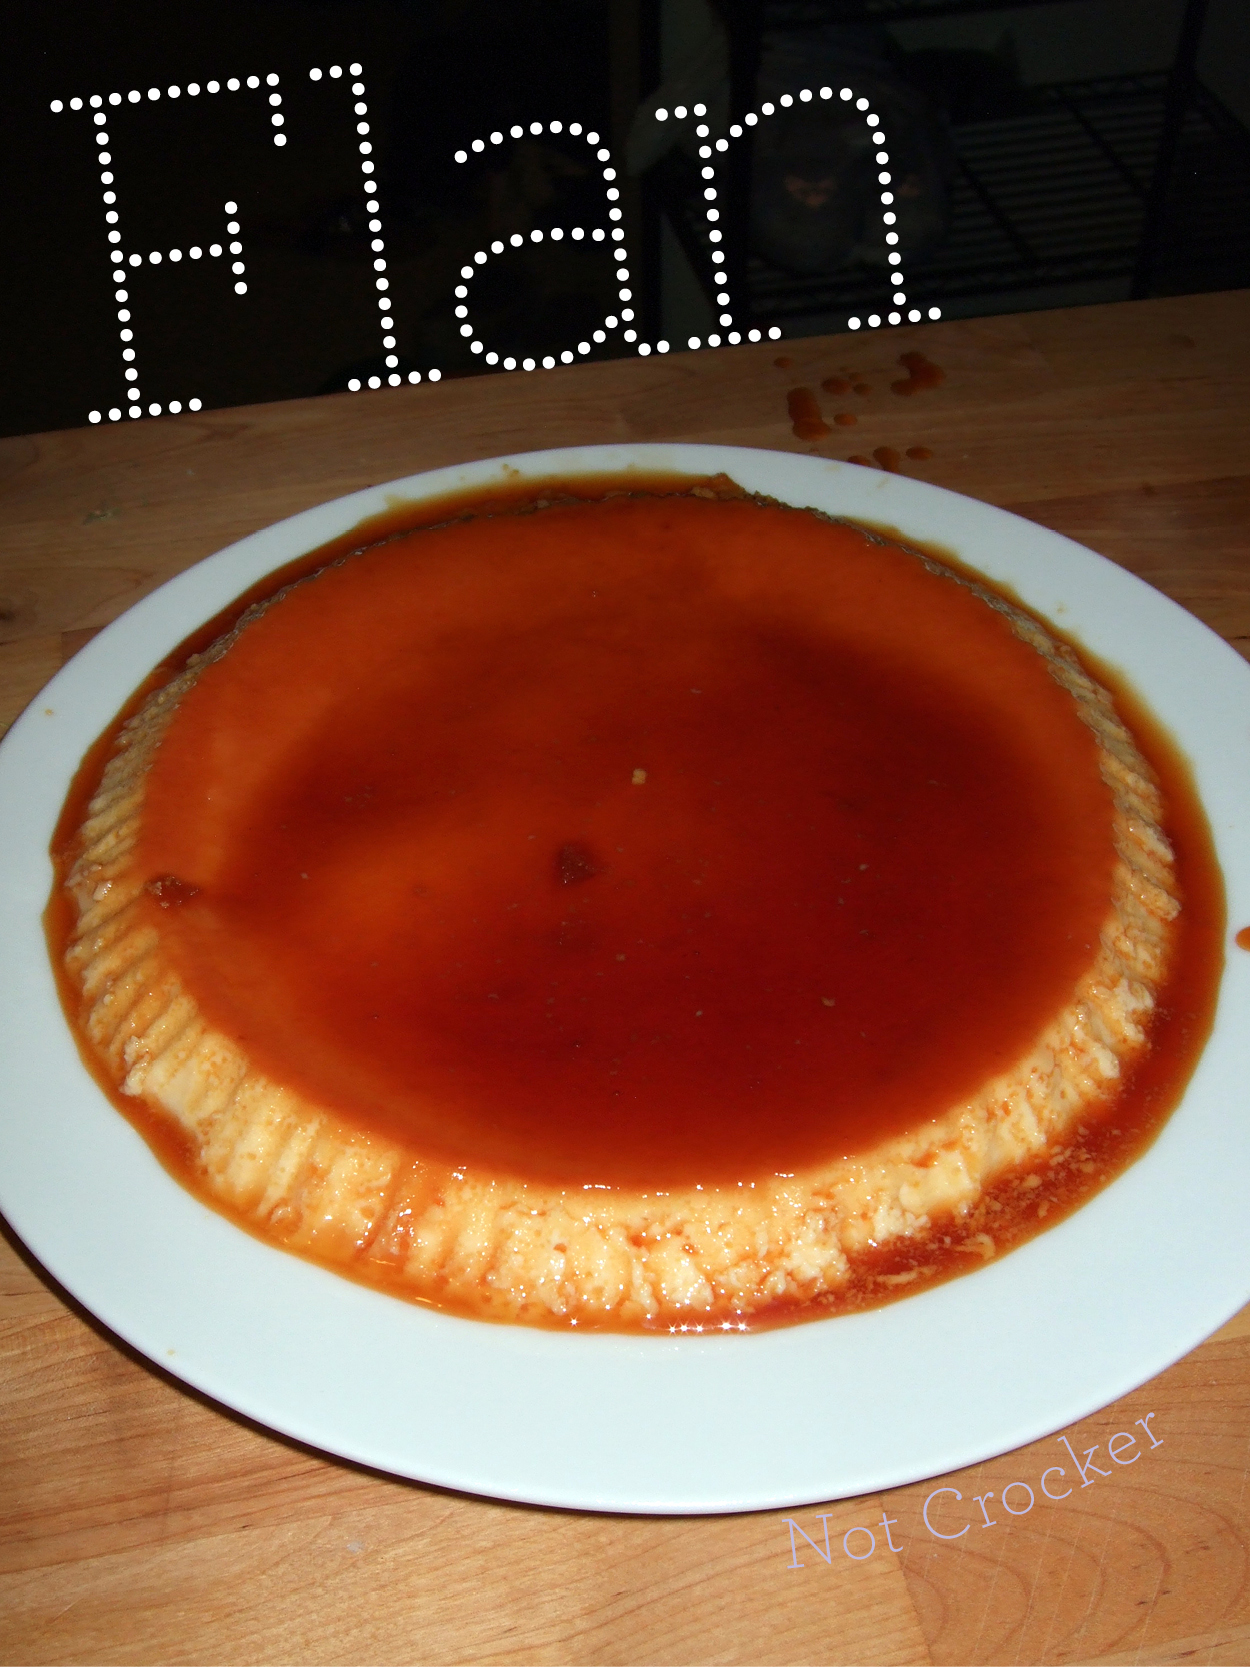
Flan, super easy recipe from Nigella Lawson

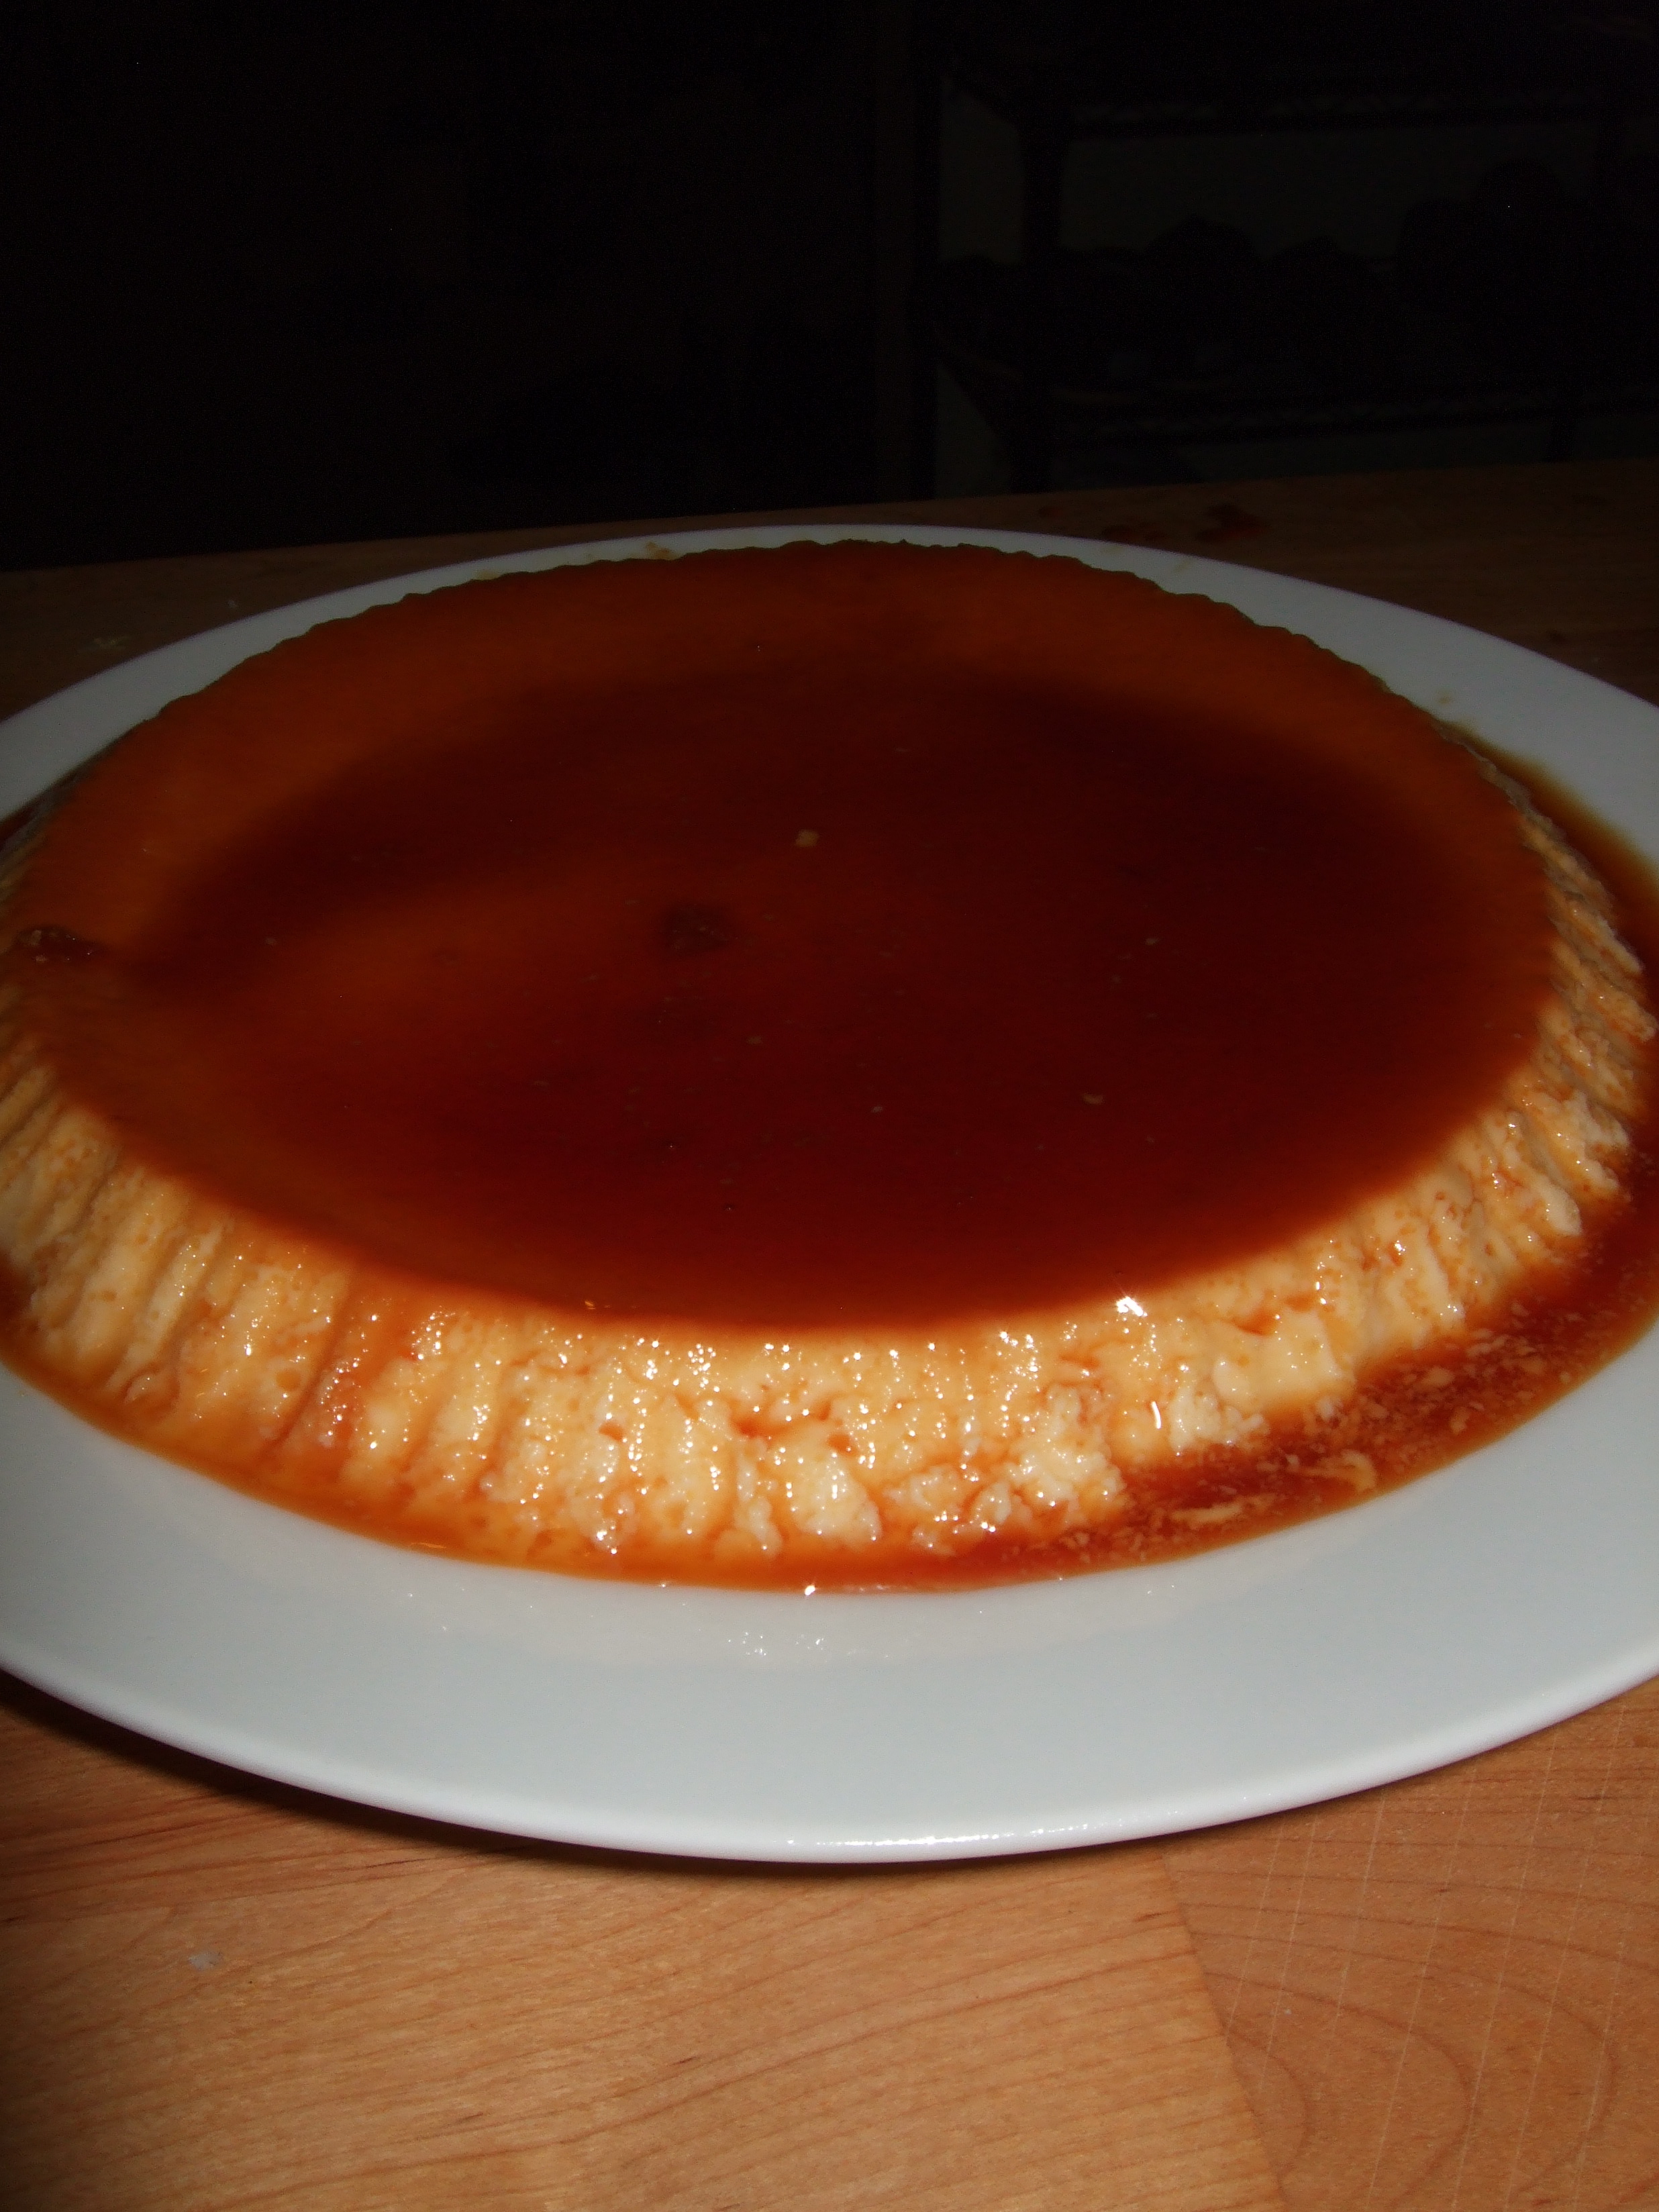
I was pretty hesitant of this recipe when I first read it, because canned milks freak me out… but it is AWESOME. The flavour and texture are spot-on. My El-Salvadorian dude loves it and is disappointed when I don’t make it (or make it at someone else’s house and don’t have any to bring home… sorry Gen!). It is super easy, but it does take some patience, it needs to set for four hours, or overnight. But it is worth it.

Flan

Recipe found through this great blog, originally from Nigella Express 

Ingredients

  • 3/4 cup sugar
  • 1 (12 oz) can evaporated milk
  • 1 (14 oz) can sweetened condensed milk
  • 3 large eggs
  • 2 tsp vanilla

Directions

  1. Preheat oven to 325°F.
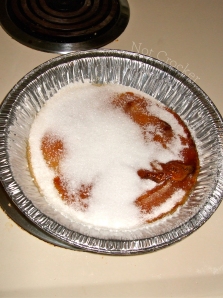
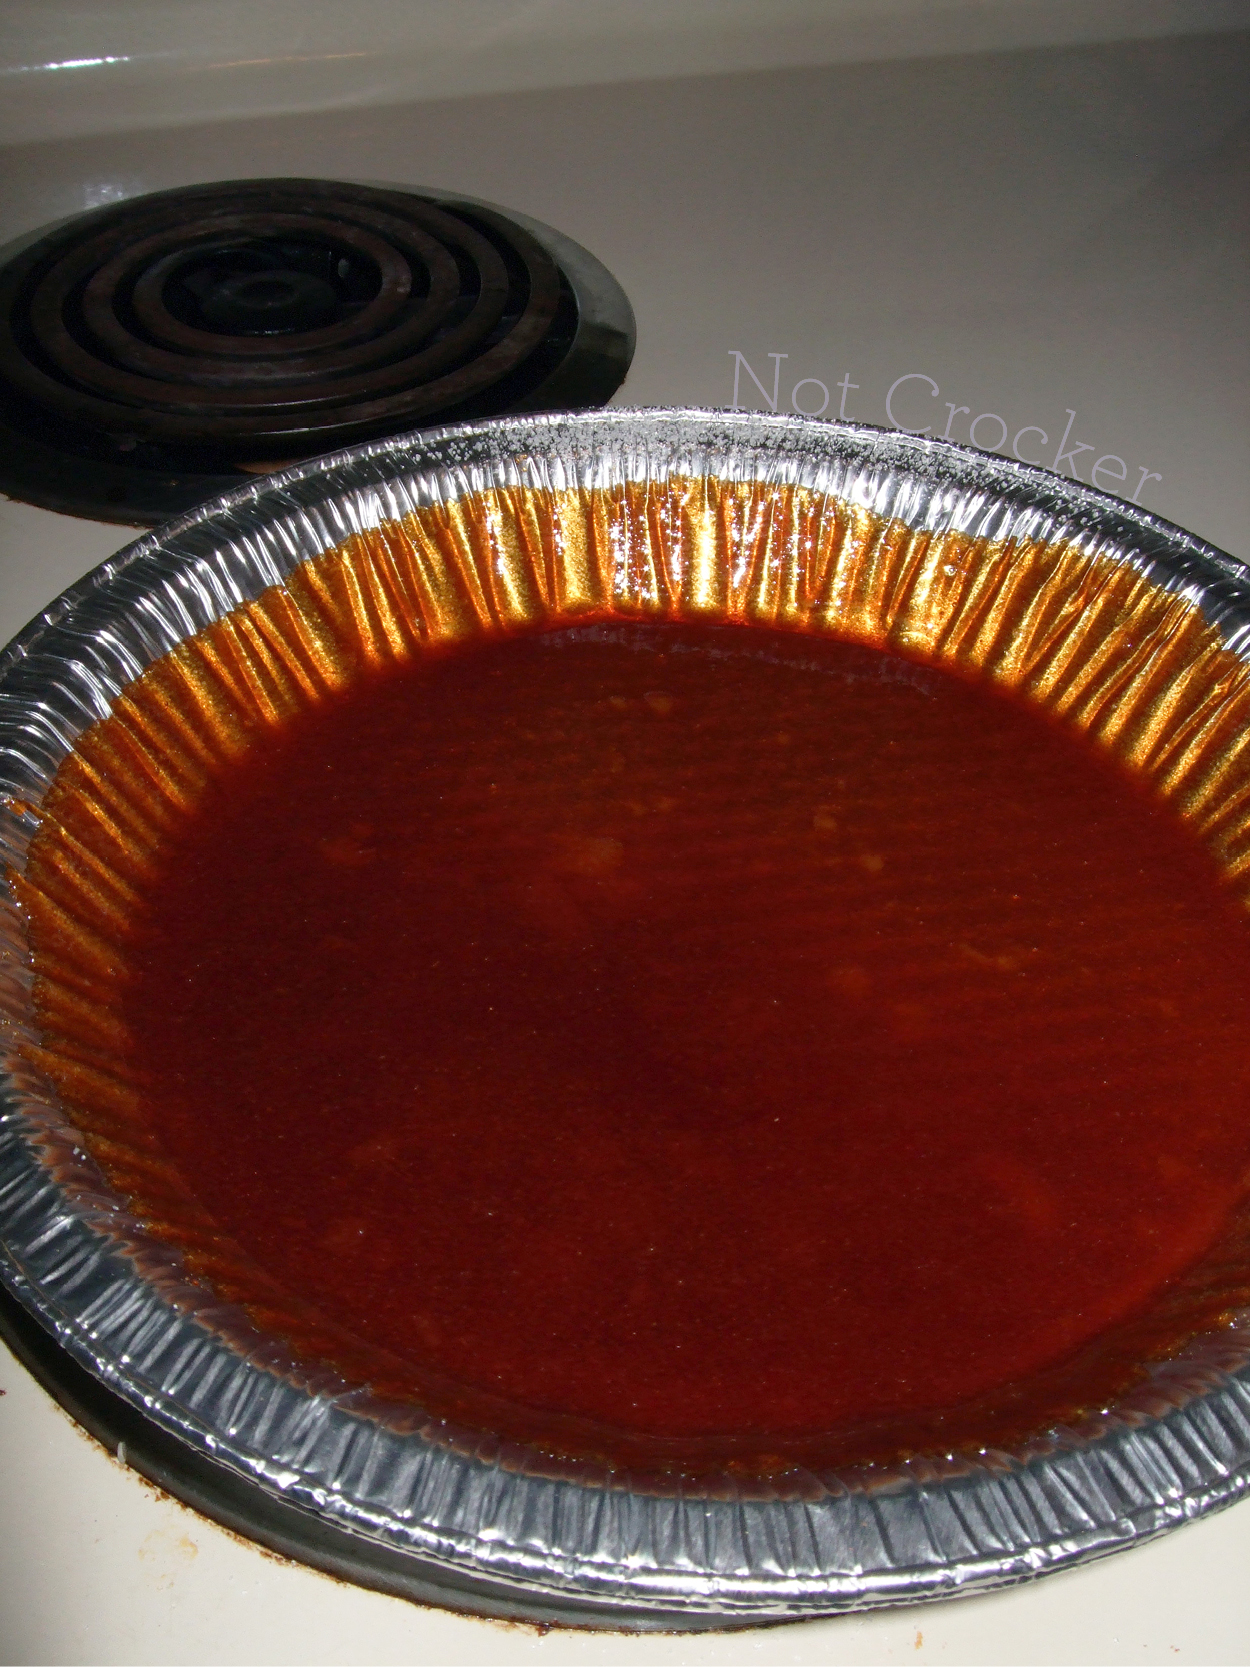
  2. Pour the sugar into a 9″ metal pie plate (must be metal, you are heating this directly on the stove). Place the pan over low heat until the sugar begins to caramelize, becoming liquid, syrup. Swirl the sugar every now and then as it melts. Press the larger chunks of unmelted sugar down to encourage their melting. Your spoon will be coated in hard caramel, run it under hot water to clean it after. The sugar will begin to caramelize-just before the sugar reaches the color of maple syrup, take the pan off the heat and place it on a cool surface. This process isn’t kind to your pie pan, it doesn’t wreck it, but it will likely discolour after a couple times. I used two reusable pie plates when I was over at my friend’s and they worked well.
  3. Swirl the caramel up the sides of the pan and set aside
  4. Boil a kettle of water (for the water bath).
  5. Whisk together the evaporated milk, sweetened condensed milk, eggs, and vanillas.
  6. Place your pie pan into a roasting pan (or another deep oven-safe dish)
  7. Pour the milk mixture into caramel-coated pie pan (it will go right to the top, this is why you put it in the roasting pan first).
  8. Pour the boiling water into the roasting pan, up to 1 inch deep.
  9. Carefully slide the whole shebang into the oven (some might slosh, that’s cool). Cook for 45-50 minutes, until set. It may still seem wobbly after 50 minutes, but don’t leave it longer.
  10. Let the flan cool on the counter, out of the roasting pan. When cool, cover with plastic wrap and put in the fridge for 4 hours, or overnight.
  11. Eating time?! Place a large plate over the pie pan, carefully and quickly flip it over and let the flan fall out (you might have to run a butter knife down the side to encourage movement). Cut in wedges and spoon the syrup over each slice.