Chewy, Fudgy Brownies with Almonds and Coconut

As I mentioned in my last post, I went to my sister’s house for about a week. This trip, paired with my being incredibly sick (still) has lead to a bit of a dead zone on the blog here. In any case, I did some brief training with Kel, and she is getting excited about posting. We made a couple new recipes while I was there and she is looking forward to posting some of her own in the future. I, of course, made some beer bread while I was there and Kel made me an awesome breakfast of beer bread, ham, cheese, and a poached egg, that I highly recommend for anyone. I will update that post with the picture of this treat.

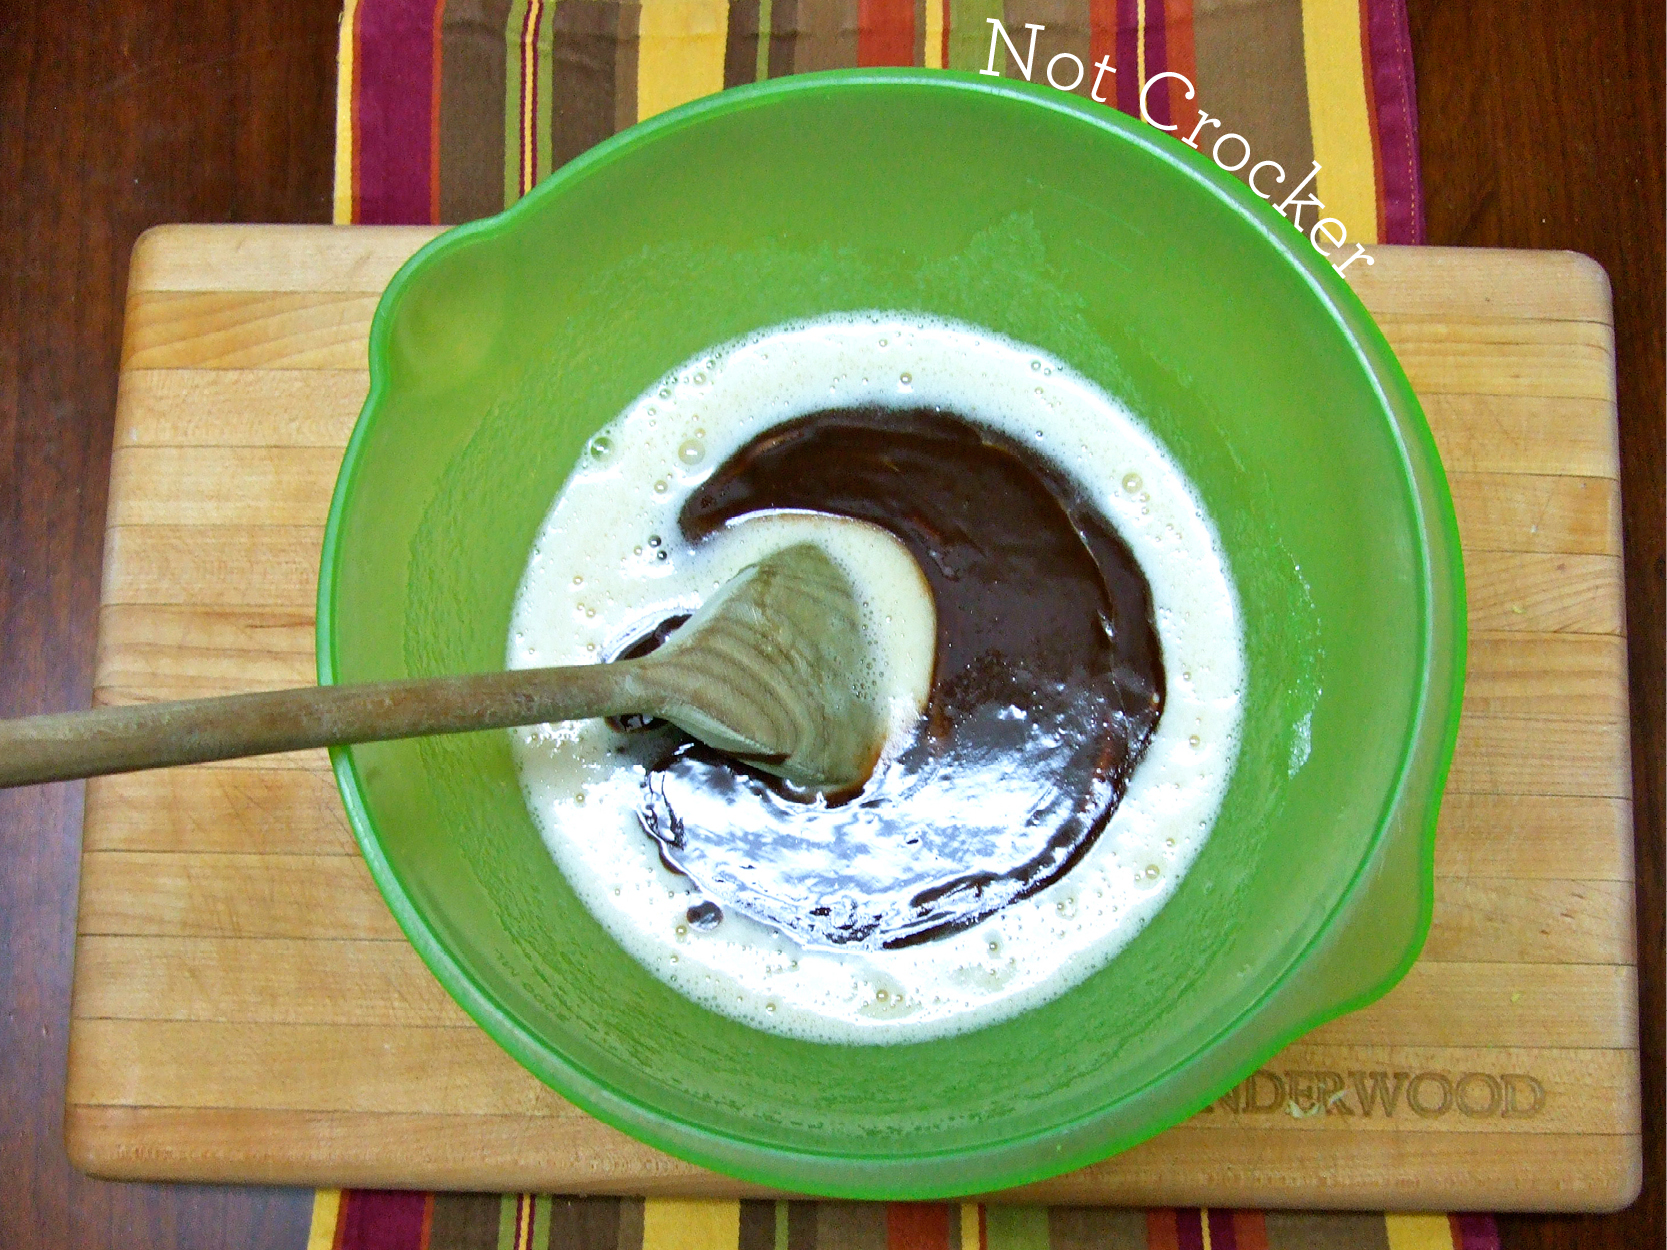
We also made some delicious brownies! Kel was game for making the brown butter blondies I posted earlier but I wanted to try something new and had been eyeing this recipe for sometime. We made some adjustments for ingredients and preferences and they turned out delicious. We happened to undercook them slightly which was tasty but I think they would’ve been perfect had they been given their extra few minutes. These brownies are truly fudgy, chewy, and delicious. I am going to make them again this week, if only to eat the batter.

Chewy Brownies with Almonds and Coconut

Adapted from here.

Ingredients

  • 1/2 cup butter
  • 1/2 cup semi-sweet chocolate chips
  • 1 cup sugar
  • 2 eggs
  • 1 tsp vanilla
  • pinch of salt
  • 1/3 cup flour
  • 1/4 cup sliced almonds
  • 1/3 shredded coconut

Directions:

  1. Preheat oven to 325 degrees F. Line an 8 by 8 inch square pan with parchment paper (or spray).
  2. Melt the butter and chocolate in a medium, microwave-safe bowl in 30 second increments, being careful not to scorch the chocolate. Stir until well combined and smooth.
  3. Combine the eggs and the sugar, mix until light, about 3 minutes.
  4. Mix in vanilla and salt.
  5. Pour in the chocolate and butter mixture, mix well.
  6. Add the flour, almonds, and coconut. Stir until incorporated.
  7. Pour the batter in the prepared pan and bake for 40-45 minutes. Cool on a wire rack before cutting and serving.

A couple days off then back at it with a vengeance!

Image

Who am I kidding, it'll be gone before Friday.

I had my final exam of my Masters yesterday and then a very brief visit with my parents who were down to get an MRI. Tomorrow I fly out to Fort McMurray to visit with my sister, her husband, and my adorable and squeezable nieces. I am going to spend the weekend teaching my sister, Kellie, how to taking pictures while cooking, how to do  my rudimentary food styling and writing, and how to post to WordPress. Soon, both sisters will be active here and twice the recipes will be pouring in! We will be back to our regularly scheduled programming by next week! (This programming being recipes every two days with the likelyhood of extras on weekends)

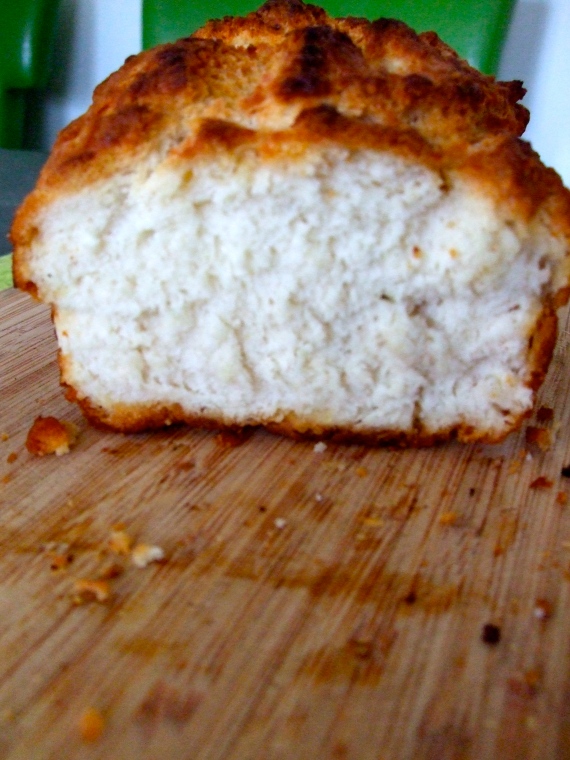
In the meantime, enjoy this extra picture of that delicious beer bread… which I am making again tonight… because it is so tasty and I know my dude will appreciate having it to munch on while I’m away.

Brown Butter Chocolate Chip Blondies

I was going to a party at a friend’s and wanted to bring some baking. I have been hankering to try out an icing technique on cake but didn’t want to have to haul a big cake 1.5 hours on transit. Instead I decided that some blondies with brown butter and chocolate would be the tasty answer! These are a mouthful, both in name and in flavour. Let’s call them BBCCBs. They are tasty, nutty, fudgy but not too sweet. These are an awesome way to use brown butter!

The recipe is simple and is adaptable. I thought about adding some coconut and cardamom to add some more depth of flavour but wanted to try them on their own first, worth it.

Brown Butter Chocolate Chip Blondies

Adapted from Martha’s.

Ingredients

  • 1 1/4 cups butter
  • 2 1/4 cups all-purpose flour
  • 1 1/2 tsp baking powder
  • 3/4 tsp salt
  • 2 cups packed brown sugar
  • 1/2 cup granulated sugar
  • 3 large eggs
  • 2 1/2 tsp vanilla
  • 1 cup semi-sweet chocolate chips

Directions

  1.  In a saucepan over medium heat, cook the butter , swirling, until it turns golden brown. Remove from heat and let cool (this will take some time, I poured it into a bowl and let it cool in the fridge to be a bit faster, but don’t let it harden).
  2. Preheat oven to 350°F. Grease a 13 x 9-inch pan; line with parchment paper; grease parchment. Set aside.
  3. In a small bowl, whisk together flour, baking powder, and salt.
  4. In a large bowl, stir brown butter and both sugars until combined. Beat in eggs until light and fluffy, about 3 minutes. Add vanilla and beat until combined. Gradually add flour mixture, beating until thoroughly combined. Stir in chocolate chips by hand. Pour mixture into prepared pan.
  5. Bake 30-35 minutes, or until toothpick inserted into center comes out clean. Transfer to a wire rack and cool completely.
  6. Cut, eat, swoon.

Coconut French Toast

My dad has always loved honey buns from Chinatown in Victoria and often, when we came down south we got some. Needless to say, the love for these subtle coconuty buns rubbed off on me. I’ve been thinking a lot about them lately and decided to make my semi-failed (ugly) Easter Bread into a true treat. So Coconut French Toast was born out of sheer hunger and momentary genius. This stuff is tasty, it’s hard to go wrong here.

Coconut French Toast

Ingredients

  • 2 eggs
  • 1 tsp vanilla
  • 1/2 cup milk
  • 2/3 cup sweetened shredded coconut
  • 3 tbsp powdered sugar
  • 4 slices of Easter Bread
  • 3 tbsp butter

Directions

1. Whisk together eggs, vanilla, milk, coconut, and sugar. Pour mixture into a long (if using a long bread…) and shallow dish. Soak slices of Easter Bread in the mixture for 2 minutes a side, until thoroughly spongy. The bread should have a nice coating of coconut (if not, spread some on once you put it in the pan).

2. Brown the butter in a pan and place slices of soaked bread in the midst of the buttery goodness.

3. Cook french toast for 2-4 minutes per side, until browned. Sprinkle with a little extra powdered sugar if needed, and enjoy.

Quote from Genesis, “Whoa this is amazing, it’s too delicious.” From the man who doesn’t love sweets. Success.

French toasted.

Peanut Butter Cup Cookies

These are just tasty. I used the filling from these in my Vegan Chocolate Cupcakes as the Peanut Butter Surprize. The original cookies are kind of like crinkle cookies, it’s all good and rich and delicious. Made on request for my friend Rebecca. Also inspired by my friend Gabby being able to eat sugar again, huzzah!

Peanut Butter Cup Cookies

Recipe from Wonderland Kitchen.

Ingredients

  • 1 1/2 cups all-purpose flour
  • 1/2 cup cocoa powder
  • 1/2 teaspoon baking soda
  • 1/4 teaspoon salt
  • 1/2 cup butter, softened
  • 1/2 cup granulated sugar
  • 1/2 cup packed brown sugar
  • 1/4 cup peanut butter
  • 1 large egg
  • 1 tbsp milk
  • 1 tsp vanilla

Filling

  • 3/4 cup sifted powdered sugar
  • 1/2 cup peanut butter
  • pinch salt

Directions

Preheat oven to 350°F.

Measure flour, cocoa powder, baking soda, and salt into a medium bowl and whisk to combine.

In a large bowl, cream butter, sugars, and peanut butter until smooth. Add the egg, milk, and vanilla, and continue mixing until well combined. Add dry ingredients and mix just until combined.

Cover two baking sheet with parchment.

In a medium bowl or stand mixer, mix powdered sugar, peanut butter, and salt until smooth.

Roll a bunch of nickel-sized balls of the filling. Flatten each chocolate ball in the palm of your hand and top with a piece of the peanut butter filling. Fold chocolate dough as evenly as possible around the peanut butter and shape back into a ball before placing it on the baking sheet again.

My cookies are pretty big... it's a family thing.

Lightly flatten each cookie with the bottom of a glass dipped in granulated sugar. You might need to get it a little greasy first to get the sugar to stick.

Bake cookies one sheet at a time until the surface of the cookies begins to crack slightly, about 10 minutes. Allow cookies to cool for 1 minute on the baking sheet, then transfer to wire rack and cool completely.

Filling and ready cookies.

Delicious!