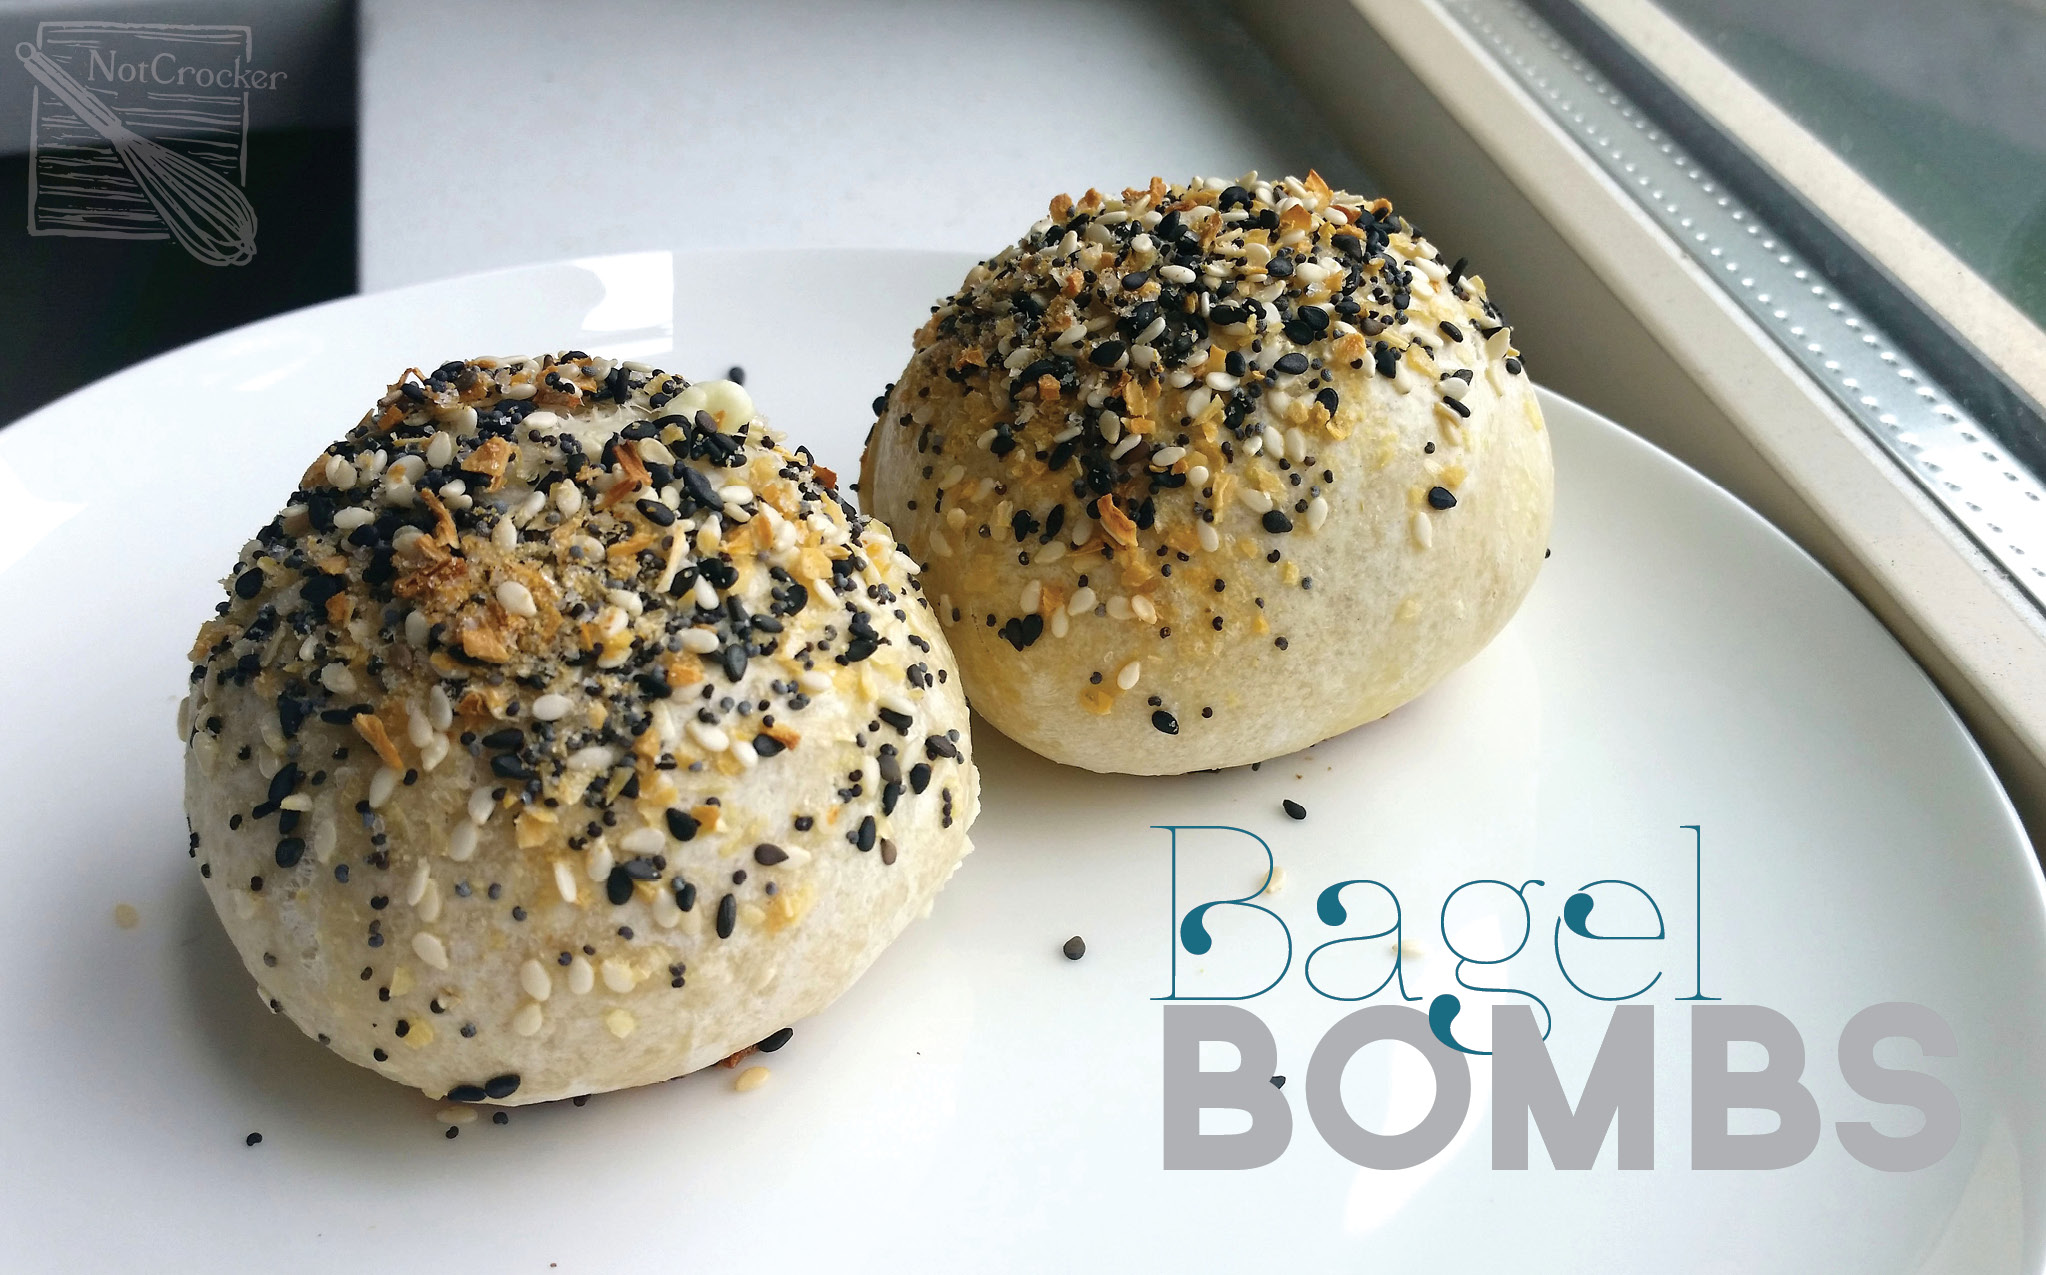
Momofuku Bagel Bombs

This summer has been busy, but it’s also been pretty great. Last weekend I flew out to Toronto to celebrate the marriage of my amazing friend Heidi to her now-husband Colin. It was an incredibly fun trip, flying with my friend Megan and staying with our friend Lauren. I don’t know how I manage, but whenever I visit Toronto, it’s in July, and it’s generally obnoxiously hot, this trip was no exception. Thankfully Lauren had an amazing fan, and we powered through!

The wedding was beautiful and Lauren and her boyfriend, Brian, were awesome hosts (no surprise there)! Food highlight of the trip (other than the amazing wedding food!) was Lauren making Momofuku bagel bombs. I’ve actually had this recipe tucked away for a long time, but as with most things Momofuku, I was somewhat intimidated. But, Lauren confidently whipped these up, and I helped her wrap the dough around the cream cheese plugs, and they were incredible! These are actually really easy, they just take a bit of time to prep, with the plugs needing some time to freeze and the dough needing to rest. That said, prep these on a Friday night, and your Saturday morning will be GLORIOUS. The real perk of these is that you can mix up the filling, and I am planning on adding some smoked salmon and dill next time around.

BagelBombs_v2

Continue reading

Beer Bread Revisited

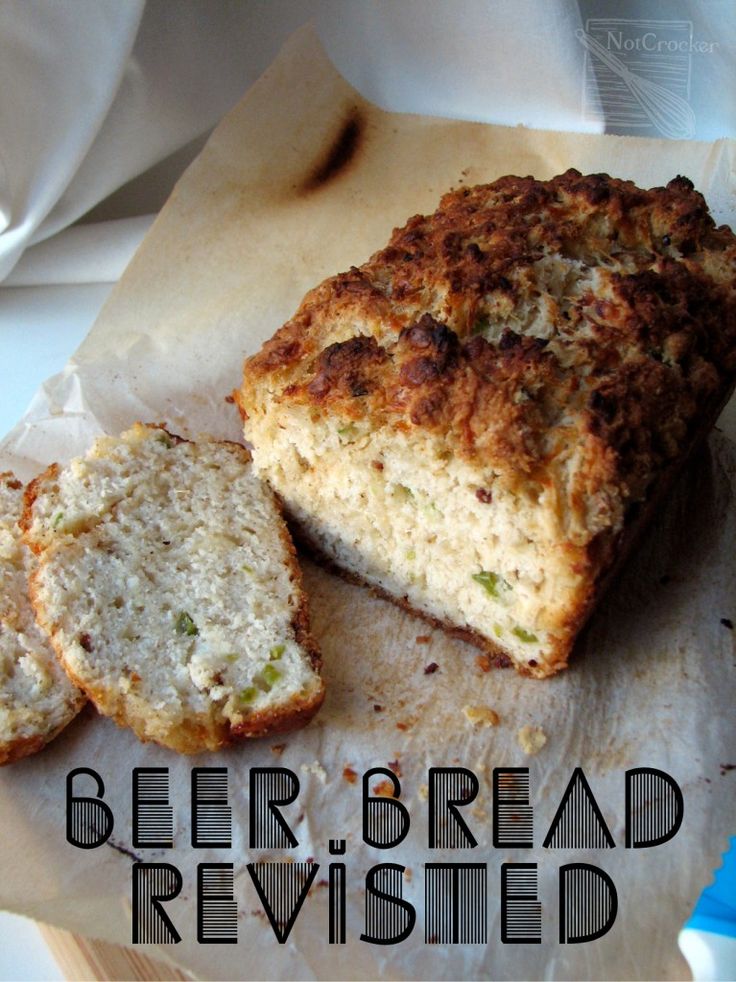
I’ve corrected the error on the original cover page. Get Beer Breading!

As I sit here sipping on a glass of wine (thanks Uncle Jim and Auntie Karen!) I begin to think about all the things I appreciate in my life. It was my parents’ 30th anniversary yesterday. I thought about it all day, as I sat on the plane from Toronto and when I got home late at night, getting ready for bed. I am glad my parents had almost thirty years together, but know that them and their love deserved another thirty. I appreciate the time I had with my dad, though I too would’ve appreciated at least another thirty. This last week has been both wonderful and very sad in this way. I received the Kenneth Le M. Carter graduate award at a board of directors dinner in Toronto on Monday night. As I took to the stage to accept my award, I thought of how important my parents were in my success, but also how proud my father would’ve been. Similarly, whenever I get a new job or internship, or at a new university, my dad was always the first person I sent an email to with my new address. These little moments that I would like to share with my dad have been whisked away. Now I stop and think of him, bringing both joy in memory and utter sadness in realization of the fact that he is gone.

I muscled through Father’s Day without much trouble as I was busy tooling around Toronto with two wonderful friends. The next day was my awards dinner, and then my parents’ anniversary on the following day. All moments of happiness and sadness rolled up into the neat little package that is my life. Speaking to my mom the day after their anniversary, it was clear that she felt the same roller coaster of emotions. I am so happy that my sister and nieces can be there with her through this first summer without dad. Yesterday, they left for the first camping trip of the season. An event that my dad eagerly awaited, I know that this first trip would be hard and was thankful that it would be made easier for all by the presence of my sweet and funny nieces and my sister.

Anyway, I had an absolutely incredible time in Toronto with my beautiful friends Heidi and Lauren. The R.Kelly sing-a-long was magical (a fairytale some may say… I may or may not have lost a shoe for part of the show). The girls took me around town, we drank great beer, enjoyed the sun, and I really loved getting to know their city. Another highlight, on my last day Heidi toured me around the Coach House coach house and Lauren gave me a thorough tour of her beloved Trinity campus, I certainly better understand the magic.
27411434a137abdcce03ee443dd8924d

Continue reading

Jalapeño Almond Bread

First thing’s first. I just received my fourth wedding invitation for this year. I know I am coming to the age where everyone I know is getting married but I never expected to have four weddings for eight wonderful people just this year! I can’t believe it! The problem is that Genesis and I are under or straight-up unemployed. We have my cousin’s wedding in April, my childhood friend Helen’s in June in the Yukon, my dearest friend Katie’s wedding in Banff in July, and my high-school twin is getting married to her long-time amazing partner in August in Saskatoon. I wish I could attend them all, but that would require one of us to be on Air Canada’s payroll. Alas, we will figure it out, but I am fairly sure I am going to miss a few important events this year.

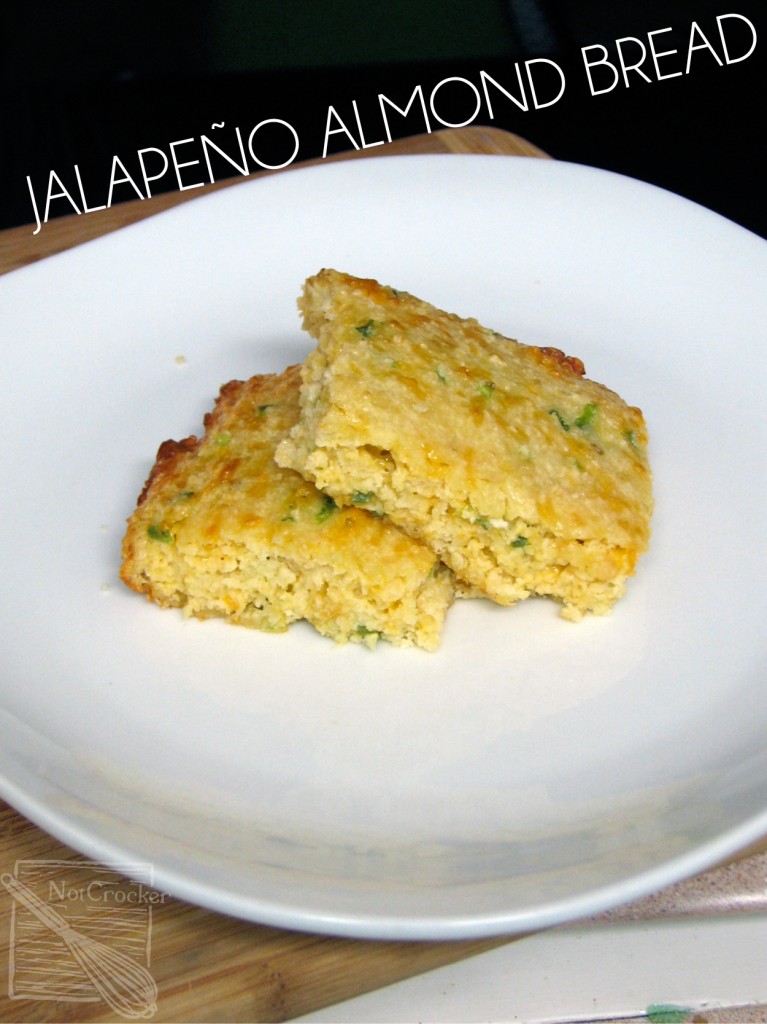
Anyway, on this beautiful sunny day I decided to make some hearty chili and a really tasty jalapeño almond bread that has all the characteristics of cornbread but with a bit more texture. The meal was super filling and I know it would satisfy even the most carby of carb lovers. I munched down a ton of the chili and happily munched on the almond bread between/with bites. I am going to experiment with a few different versions of this because it came out so beautifully. I suspect I could make a sweeter version of it that uses cream cheese and some cinnamon, maybe even a swirl of chocolate. Hmm weekend-testing ideas!

Jalapenoalmondbread

Continue reading

Homemade Pita, the perfect pocket for meals of all sorts!

Seriously now, breads are easy. My lovely friend Angela (who is leaving us in a few days for the boonies) brought homemade pita to a party months ago and casually mentioned that it wasn’t that hard to make. We all revelled in her culinary genius but I had never thought to take up the task. Well, consider that task taken up. It was truly not that hard, and it was definitely worth it. Pita made at home is fluffy and delicious. I baked these up in no time and we stuffed them with that Curry Chicken Salad. It was an awesome dinner, made all the better by fresh pita.

Pita Bread

Makes 8 pitas
Preparation: 2.5 hours
Cook time: 10 minutes

INGREDIENTS

  • 3 1/2- 4 cups all-purpose flour
  • 1 1/4 cup warm water
  • 1/2 tbsp active dry yeast
  • 1 1/2 tbsp olive oil
  • 1 1/2 tsp salt
  • a pinch of sugar

DIRECTIONS

  1. Combine the yeast, 1/2 cup of the warm water, and a pinch of sugar in a small bowl, stirring until the yeast is just mixed into the water. Set this mixture aside and let it do its thing for 10 minutes, until creamy.
  2. In a large bowl, mix the rest of the warm water with the flour, salt ,and olive oil.
  3. Pour in the yeast mixture and mix until a soft dough has formed. Knead the dough in the bowl until you have a soft, smooth dough that springs back when poked.
  4. Place the dough in an oiled bowl, rubbing some oil over the dough as well, cover let it rise for 1.5 hours, until doubled.
  5. Heat the oven to 400°F.
  6. Turn out your risen dough onto a lightly floured surface. Gently deflate and section the dough into 8 equal balls.
  7. Roll each ball into a circle of about 6 inches, about 1/4 inch thick.
  8. Cover your rolled-pitas and allow them to rise for another 10 minutes.
  9. Place the circles on a parchment-lined (or greased) cookie sheet. Bake for 7 to 10 minutes or till puffed up and light brown.
  10. You might have to do a couple rounds of baking to get all your pitas done.
  11. Stuff with Curry Chicken Salad, or whatever you gosh darn want.

Soft and oiled pita dough.

Pita in it raw form… also delicious…

Puffed and prime for stuffing.


Mozzarella & Basil Bread

I am doing a terrible job of using my basil plant to its full capacity. I constantly forget that it’s hanging out on our balcony, growing away for us. But when I remember to us it, it is always awesome. Fresh basil on pizza with some sliced tomatoes, and fresh mozzarella, perfection. Fresh basil in a loaf of bread, awesome. I’ve gotten so much better at making bread, thanks largely to my birthday mixer. I am a terrible kneader, as I am sure my family will attest, so having a mixer that can do so much of the work for me has allowed me to make fluffy, stretchy, beautifully consistant loaves. I am in heaven, as is my husband. So here is my latest loaf, a cheesy, basily loaf that according to Gen is reminiscent of pizza… It makes great bread for a sandwich, oh my it would be heaven for grilled cheese! It is also awesome when sliced open, slathered with some garlic butter and chives and broiled for garlic bread. Make it: moral of the story.

Also, thanks for your patience with my very-brief hiatus. I needed that time.

Mozzarella & Basil Bread

Adapted from here.

INGREDIENTS

  • 1 cup lukewarm water
  • 1 1/2 tsp white sugar
  • 2 tsps active dry yeast
  • 1 tsp salt
  • 3 cups all-purpose flour, more as needed
  • 1 1/2 cup shredded mozzarella cheese
  • 2 tbsps milk
  • handfull of fresh basil, about 1/4 cup (or 2 tbsp dried basil) *technique time: layer all your leaves of basil together and lightly roll lengthwise. Cut this roll into thin strips, BAM you’ve cut all your basil in one shot.
  • 1 egg, beaten for eggwash

DIRECTIONS

  1. Combine the yeast, sugar, and warm water in a cup, stir lightly and allow to sit for 10 minutes, until creamy.
  2. In a large bowl combine the creamy yeast mixture with 1 cup of bread flour to form a loose batter.
  3. Stir in 1 more cup of flour and the salt.
  4. Add in the third cup of flour with the shredded mozzarella, milk, and roughly chopped basil. Mix in additional flour if needed, until a soft dough forms and pulls away from bowl.
  5. Turn the dough out onto a well-floured work surface, and knead until the dough is thoroughly mixed, but still sticky, 5 to 8 minutes. Add flour into the dough as you knead, if necessary. Form the dough into a ball, and place into an oiled bowl, lightly oil the dough to keep it moist. Cover, and allow to rise until double, about 1 hour.
  6. After it has doubled, punch it down in the bowl, to deflate. Turn the dough out onto a well-floured work surface, and knead for about 3 minutes. Form into a football, tucking the seam at the bottom. Place on a parchment-lined (or greased) cooking sheet. With a sharp knife, slash the loaf in your desired pattern… nothing elaborate. Cover again and allow to rise for 25 minutes.
  7. Preheat oven to 425°F.
  8. Uncover the loaf, brush lightly with your beaten egg.
  9. Bake until browned, about 25 minutes. Allow it to cool for about 25 minutes before slicing. Seriously, try.

Cheese is shredded and basil is plucked!

*Basil ribbons… not precise or even, but delicious!

Crisp crust, fluffy interior with little cheesy pockets. I cut it before it had time to cool, I was just that excited.

My lovely husband brought me lovely flowers. Ooooooh.