Chocolate & Nut Date Balls- chocolate cravings killer

These sticky treats are not your grandma’s date balls. They are fudgy and packed with chocolate flavour. I added a lot of nuts, probably more than you might want, but they are tasty. And they are easy to adjust to what you have on hand or what your tastes are. I am often finding myself pining for chocolate and these have successfully satisfied those cravings time and again. They keep wonderfully in the fridge and travel well. While I happily used my food processor that I got from my friend Kim, these could be made without it by chopping things up very small by hand and mixing well, though they will be less fudge-like. They are pretty darn healthy, there is no butter or sugar added as the dates act as both.

Chocolate & Nut Date Balls

INGREDIENTS

  • 2 1/2 cups of pitted medjool dates (can be whole, chopped, whatever. You are processing them)
  • 1 1/2 tsp vanilla
  • 1/2 cup walnuts
  • 1/4 cup sliced almonds
  • 1/2 cup salted cashews (I just had these on hand and they were awesome, the saltiness added a new dimension)
  • 1/2 cup shredded coconut
  • 2-4 tbsp cocoa powder (start with two and work up to your desired fudginess)
  • 1/3 cup dried oats (whole oats if you are using a food processor; quick oats if not, as they are already chopped up)
  • 2 tbsps of semi-sweet chocolate chips are optional (totally not necessary but will further amp the chocolate factor)

DIRECTIONS

  1. Chuck everything into the food processor and blend. Start with only 2 tbsp of cocoa powder and add more as needed. If the texture isn’t coming together more dates will add the necessary stickiness. Add more nuts, coconut, dried fruit, etc. as desired.
  2. Once things have been chopped down to your taste, roll into balls, place in a tupperware and refrigerate to firm them up. Feel free to roll these in some additional cocoa powder or coconut.
  3. If you are making these by hand, which is definitely possible, chop all the ingredients that need it, as well as you can. Pop everything into a bowl and stir aggressively (that’s right, aggressively!) to combine. You are looking for the ingredients to stick together and distribute evenly.
  4. Eat morning, noon, and night.

All the good stuff, ready to mingle.

Cookie Dough Bites- because sometimes you need a ridiculous treat

Hmm, what do I categorize these as? They aren’t cookies, they never make it that far… but they aren’t officially truffles, hmm. I will ponder on it.
Cookie dough bites have been on my mind since I saw them on Tastespotting, I love cookie dough, more than I love cookies, so they needed to happen. I changed nothing from the recipe, it is just delicious cookie dough heaven. Enjoy!

Cookie Dough Bites

Recipe from Cooking Classy (I only changed the chocolate chips and brown sugar for the things I have on hand/prefer)

Ingredients

  • 1/2 cup butter, softened
  • 3/4 cup packed dark brown sugar
  • 1/3 cup granulated sugar
  • 1/4 tsp salt
  • 3 Tbsp heavy cream
  • 1 tsp vanilla extract
  • 1 1/2 cups all-purpose flour
  • 1/2 cup semi-sweet chocolate chips, chopped (the idea is to get them to be about 1/2 – 1/3 their original size)

Directions

  1. In a medium bowl, whip together butter, brown sugar, granulated sugar, and salt until pale and fluffy.
  2. Stir in cream and vanilla extract. Add in flour and mix just until combined (dough will seem dry at first but it will come together). Stir in chopped chocolate chips.
  3. Scoop dough out 1 equal tablespoon at a time and roll into balls. Place on parchment or wax paper.
  4. Store in refrigerator in an airtight container.

These look huge but trust me, that bowl is tiny! It is a bowl for ants!

Walnut Pie Bars (a play on Pecan Pie Bars)

I am not being clever, I just happened to have a Costco-sized bag of walnuts and no place to go… and then I got invited to a dinner party and suddenly walnuts became the perfect dessert. I LOVE pecan pie, I went through a pie phase a couple years ago and I swear I made pecan pie four times in so many months, which is way too often for such a rich dessert. Now, I haven’t had the pie since but I remembered making pecan pie squares once and thought these would be the perfect substitute. Again, I used walnuts instead of pecans, so there is a bit of a difference, but not so much to make a fuss about. The bottom of the bars are a bit cakey (ie not shortbread) and the top is rich, nutty, gooey deliciousness.

Walnut Pie Bars

Ingredients

  • 2 cups all-purpose flour
  • 1 1/2 cups sugar
  • 1 tablespoon baking powder
  • 1/2 cup butter, softened
  • 1 egg
  • 1 tbsp milk
  • 2/3 cup flour mixture
  • 1/2 cup dark brown sugar
  • 1 1/2 cup corn syrup
  • 1 tsp vanilla
  • 3 eggs, lightly beaten
  • 2 tbsp cream (or milk)
  • 2 cups roughly chopped walnuts

Directions

  1. Heat oven to 350 degrees. Line a 9 x 13 inch cake pan with parchment paper (curses, I ran out of parchment paper today, greasing it works too).
  2. Whisk together the flour, sugar, and baking powder. Scoop out 2/3 cup and set aside.
  3. Add butter and egg to the remaining flour mixture, and combine until crumbly. Press evenly (if possible…) into the pan and bake for 15-20 minutes or until light golden brown.

    Baked and ready to be topped!

  4. While the base is baking, beat together the 2/3 cup of the flour mixture, brown sugar, corn syrup, vanilla, and beaten eggs. Pour over the base when it is done baking. Sprinkle the walnuts evenly (if possible…) over the top. Bake 30-35 minutes, until filling is set.

Brown Sugar Scones, Two Ways

I have been craving my mother’s brown sugar scones for awhile now and just needed to remember to ask her for the recipe and have an excuse to make them. My excuse came Monday when I started my internship at The Tyee. The Tyee staff is awesome and I am looking forward to failing miserably for them in softball this summer… oh yeah, and completing my internship project too.. that too for sure… In any case, starting with them means that I have a new crowd to bake for. Perfect! Scones it is!

These scones are buttery, lightly sweet, and just gloriously yummy. Oh, they are also terribly easy. I love mom’s original recipe, which she normally tops with fruit, but I wanted to change it up too. I made one standard batch (so tasty) and decided, as I am wont to do, to add caradmom and chocolate to the recipe to make a snazzed-up version. Heavenly. Both versions are to die for. I can barely hold back from eating everything.

Mom’s Brown Sugar Scones Two Ways

Ingredients (for one batch)

  • 3 cups flour
  • 2 tsp baking powder
  • 1 cup brown sugar
  • 1 cup butter
  • 1 cup milk (plus more if needed)

Additions for the Chocolate Cardamom Brown Sugar Scones (CCBSS)

  • 1 tsp ground cardamom
  • 1 cup semi-sweet chocolate chips

Directions

  1. Preheat oven to 375°F and line a baking sheet with parchment paper. If you have a baking stone, that’s what my mom always uses.
  2. In a large bowl whisk the flour, baking powder, and brown sugar. (If making CCBSS, include cardamom now as well)
  3. Using a pastry cutter, or your fingers,  work in the butter until it is well combined and resembling coarse meal. (Add the chocolate chips now if making CCBSS)
  4. Add the milk and stir until a sticky dough forms, don’t over work the dough.
  5. Turn the dough out onto a flat surface and roll into a circle about 3/4 – 1 inch thick. At this point, you can either score the circle into wedges that you will cut after it is cooked or you can actually cut out wedges. I did both this time, the scored circle definitely had to cook a little longer.
  6. Place wedges or circle onto your prepared baking sheet, sprinkle with brown sugar, and bake for 15-20 minutes. My wedges cooked in about 15 minutes, the circle was about 20. The edges of your scones will be golden and they will be a slightly firm when poked.
  7. Serve with a glass of milk, coffee, love, etc.

Brown Sugar Scones pre-oven

Chocolate Cardamom Brown Sugar Scones pre-oven.

Ready for munching. And munch I did.

The whole batch... minus one that HAD to be tested.

Chewy, Fudgy Brownies with Almonds and Coconut

As I mentioned in my last post, I went to my sister’s house for about a week. This trip, paired with my being incredibly sick (still) has lead to a bit of a dead zone on the blog here. In any case, I did some brief training with Kel, and she is getting excited about posting. We made a couple new recipes while I was there and she is looking forward to posting some of her own in the future. I, of course, made some beer bread while I was there and Kel made me an awesome breakfast of beer bread, ham, cheese, and a poached egg, that I highly recommend for anyone. I will update that post with the picture of this treat.

We also made some delicious brownies! Kel was game for making the brown butter blondies I posted earlier but I wanted to try something new and had been eyeing this recipe for sometime. We made some adjustments for ingredients and preferences and they turned out delicious. We happened to undercook them slightly which was tasty but I think they would’ve been perfect had they been given their extra few minutes. These brownies are truly fudgy, chewy, and delicious. I am going to make them again this week, if only to eat the batter.

Chewy Brownies with Almonds and Coconut

Adapted from here.

Ingredients

  • 1/2 cup butter
  • 1/2 cup semi-sweet chocolate chips
  • 1 cup sugar
  • 2 eggs
  • 1 tsp vanilla
  • pinch of salt
  • 1/3 cup flour
  • 1/4 cup sliced almonds
  • 1/3 shredded coconut

Directions:

  1. Preheat oven to 325 degrees F. Line an 8 by 8 inch square pan with parchment paper (or spray).
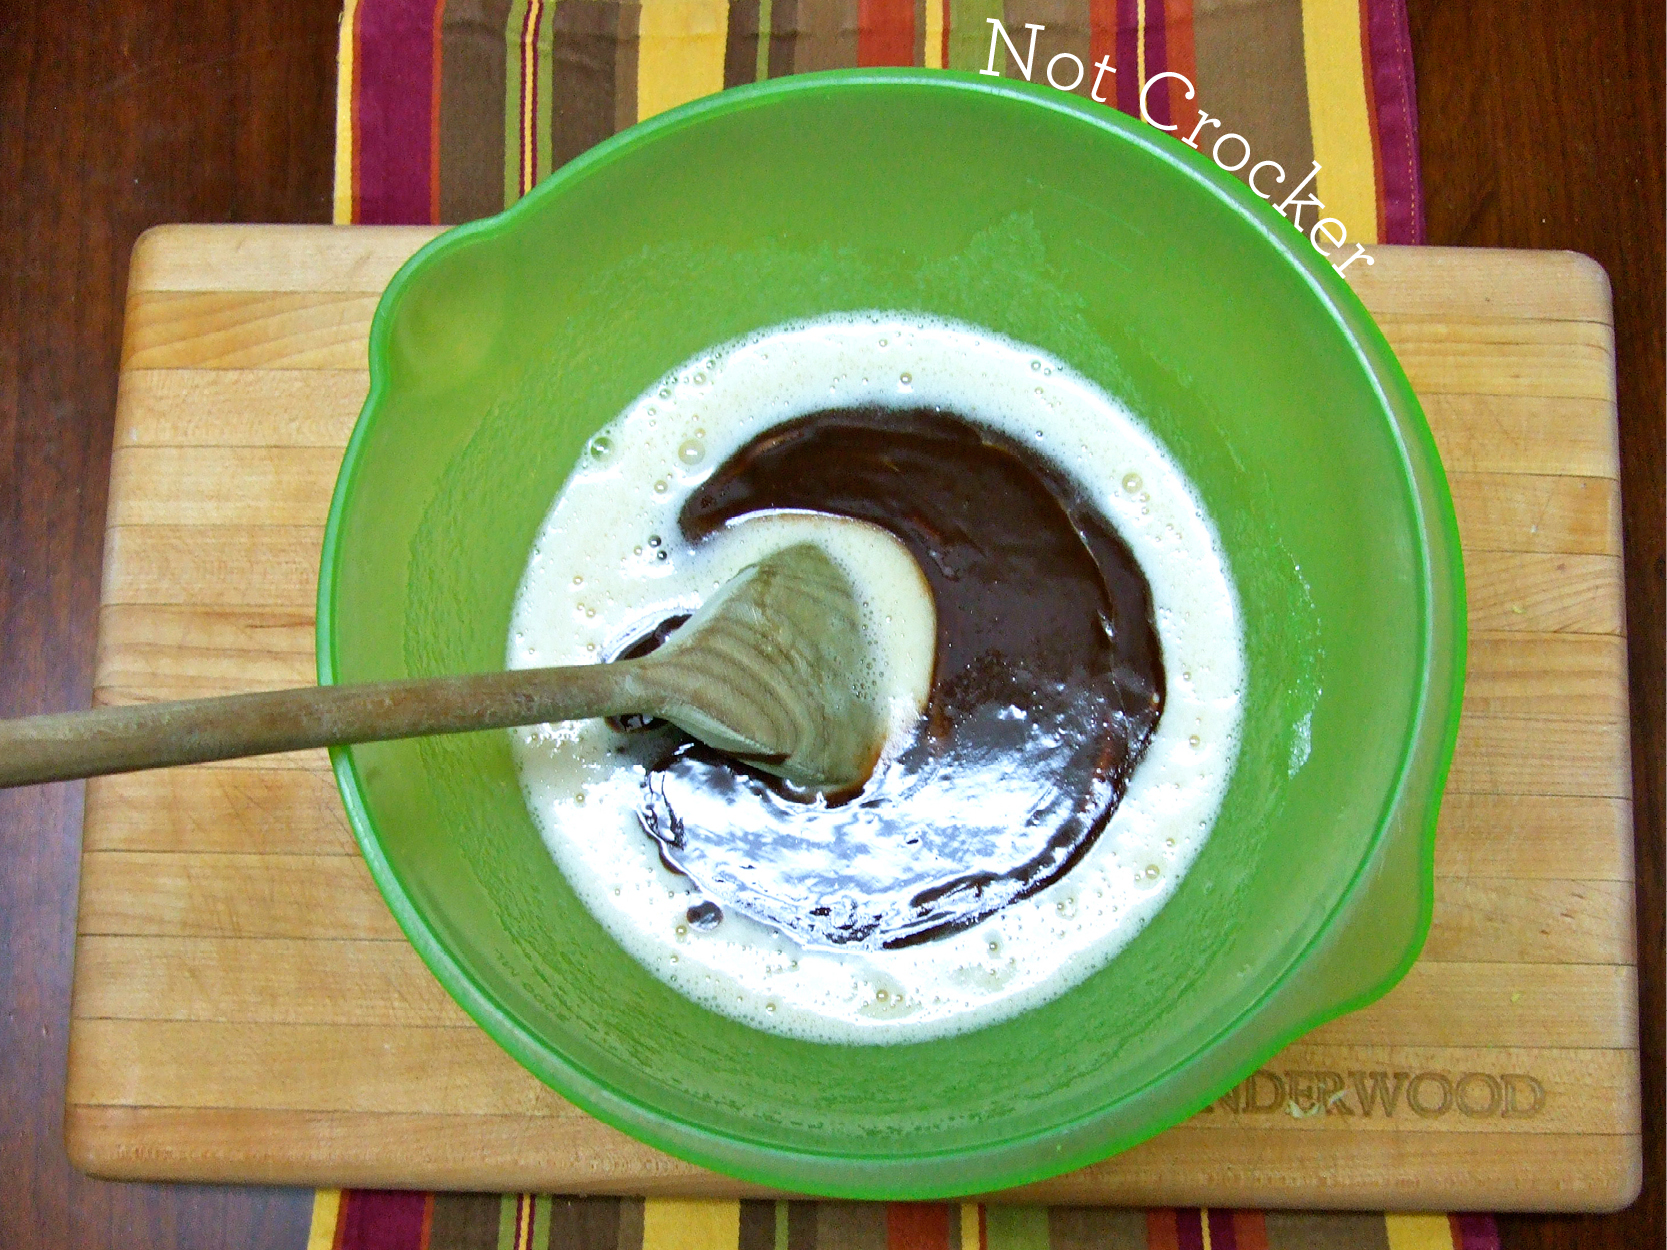
  2. Melt the butter and chocolate in a medium, microwave-safe bowl in 30 second increments, being careful not to scorch the chocolate. Stir until well combined and smooth.
  3. Combine the eggs and the sugar, mix until light, about 3 minutes.
  4. Mix in vanilla and salt.
  5. Pour in the chocolate and butter mixture, mix well.
  6. Add the flour, almonds, and coconut. Stir until incorporated.
  7. Pour the batter in the prepared pan and bake for 40-45 minutes. Cool on a wire rack before cutting and serving.