Beer Bread and Caprese Sandwich

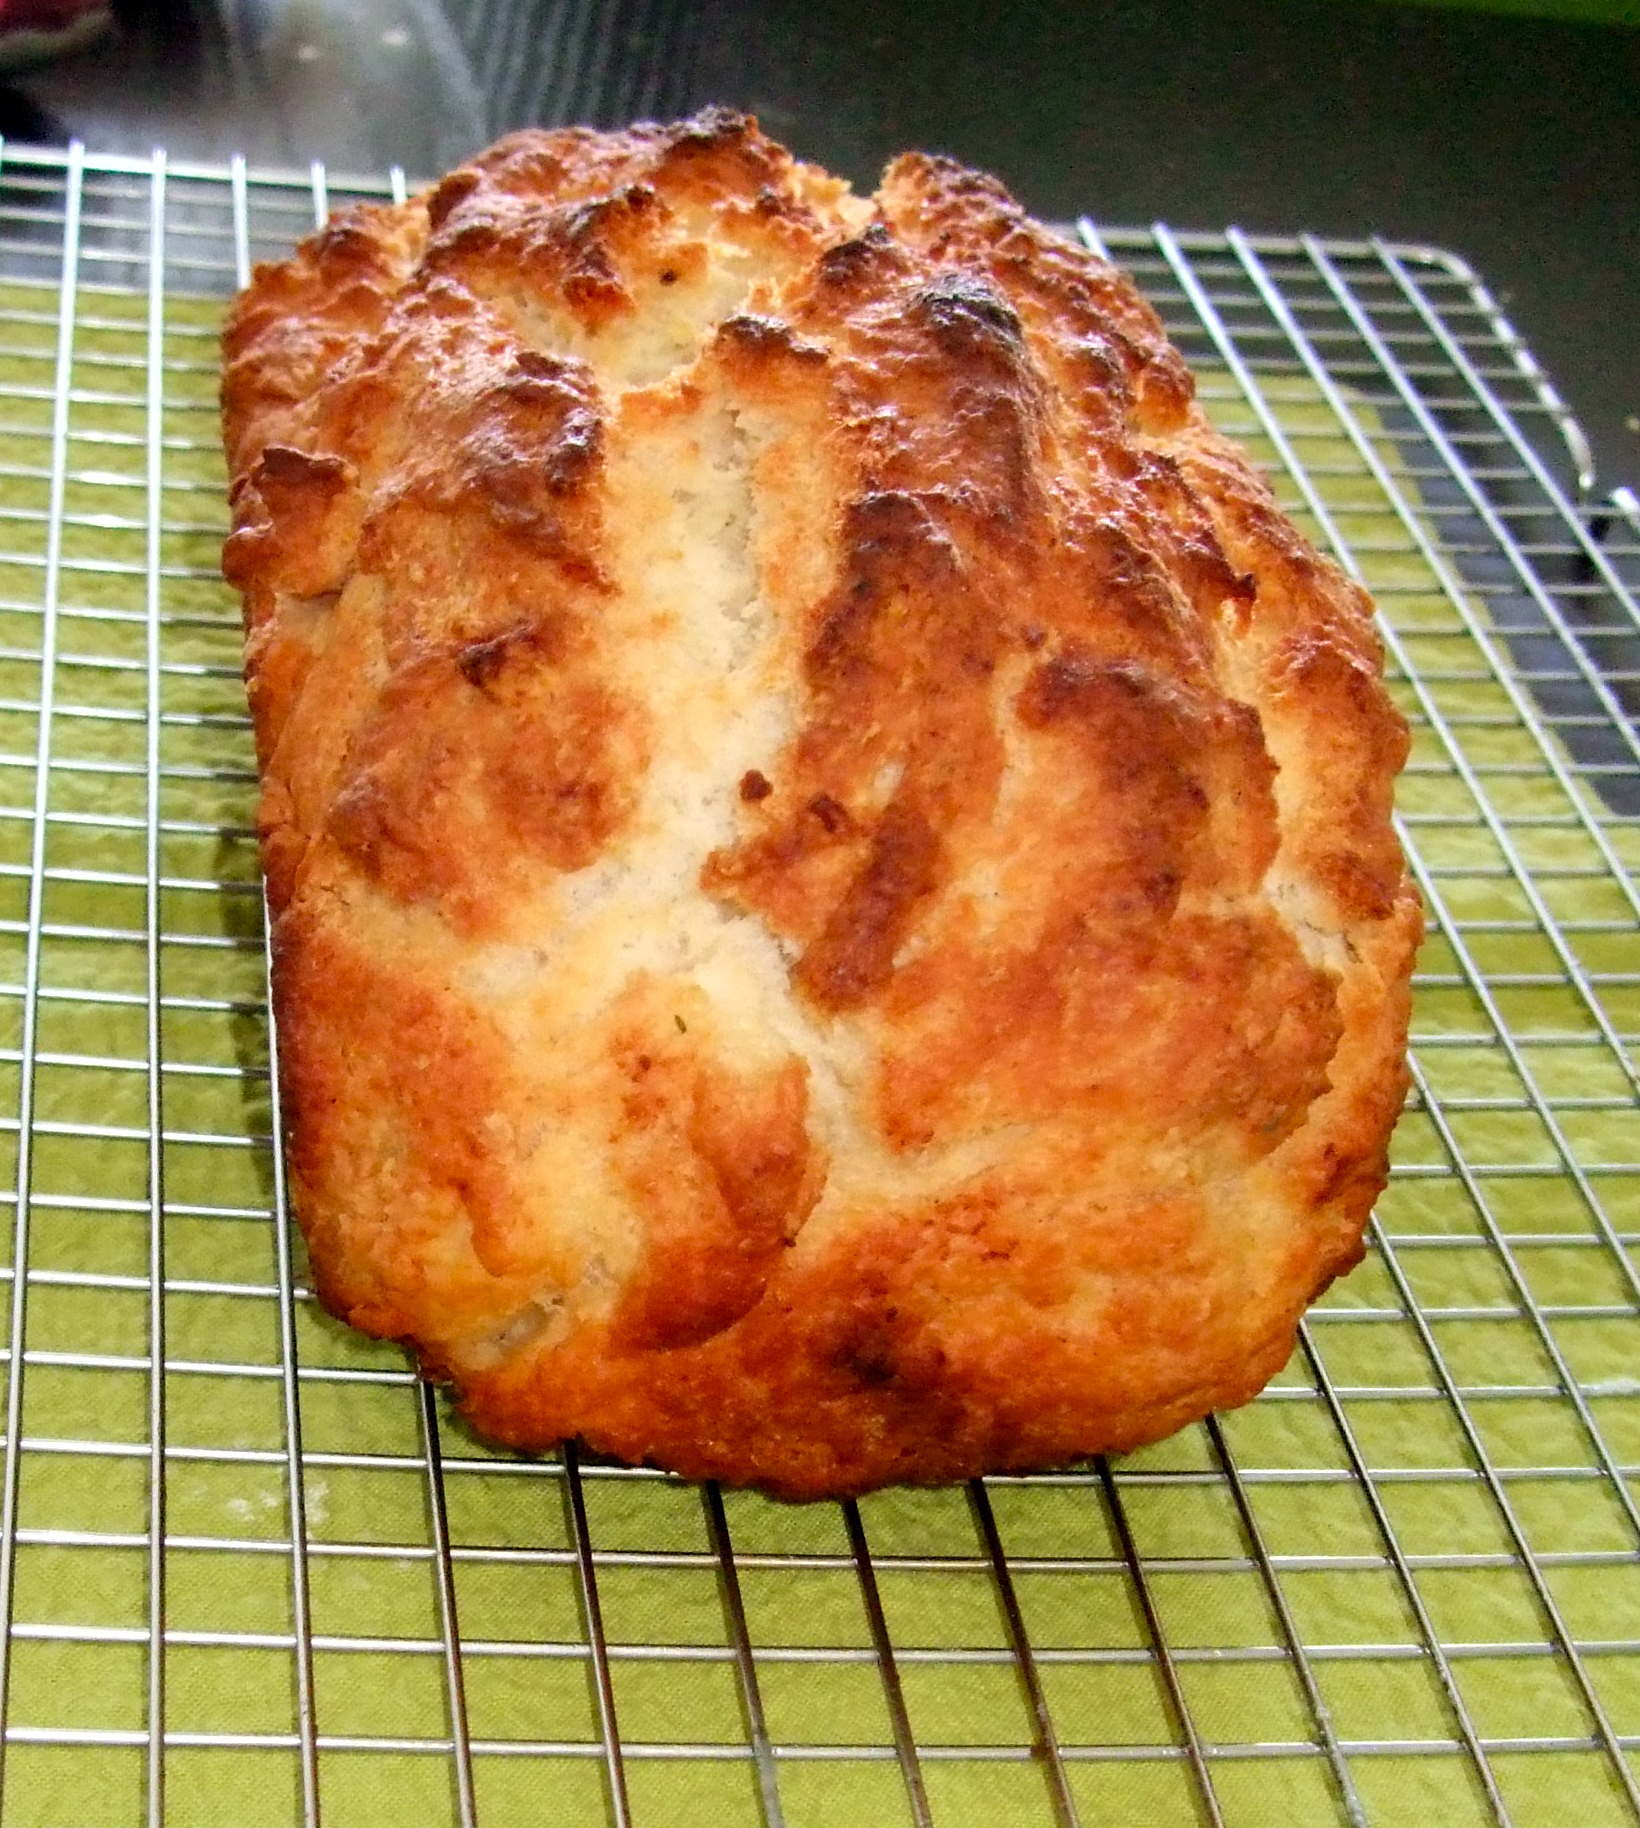
This is my second load of beer bread, the first baked a few months ago when I wanted a grill cheese. Gen and I don’t normally buy bread (he eats it way too quickly) so when I have the rare craving for a sandwich I try to make something from scratch. I’ve made a couple of other breads in the past.

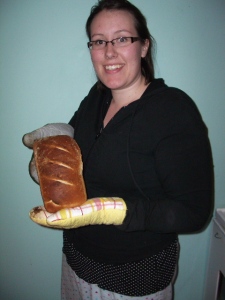
Me in my pjs baking bread circa 2010.

The loaf above was my first, just a plain white bread. Tasty but nothing special. So far last month’s Spicy Cheddar Irish Soda Bread has been my favourite because of its flavour and crumb. But today’s beer bread was a pretty big hit and will come back for sure.

This beer bread is fluffy and light on the inside with a substantial crust. I added some spices for extra flavour but feel free to omit these, it stands up on its own!

Easy Beer Bread

Ingredients

  • 3 cups all purpose flour
  • 1 tbsp baking powder
  • 1 tsp salt
  • 1/4 tsp thyme
  • 1/4 tsp oregano
  • 1/4 tsp chili powder
  • 1/4 cup sugar
  • 1 (12 ounce) can/bottle dark beer
  • 1/3 cup melted butter

Directions

  1. Preheat oven to 375 degrees.
  2. Whisk together dry ingredients (as opposed to sifting, I don’t have a sifter but I find whisking helps this).

    Ready for the brewski.

  3. Pour beer into dry ingredients and mix until combined, will be sticky.
  4. Plop the dough into a loaf pan lined with parchment paper, cover the dough with melted butter.

    Buttered. Ready for the oven.

  5. Bake appx 1 hour (check at 50 mins, my oven runs hot), remove from pan and cool on a rack for 15 minutes.

    Yum.

    And what should you do with this bread? Oh, how about make a delicious sandwich?!

    Caprese Sandwich made with Beer Bread

    • Beer bread
    • Fresh mozzarella (preferably di bufala)
    • Tomato
    • Basil
    • Olive oil
    • Salt and pepper
    Slice the cheese, bread, and tomato. Lightly drizzle a pan with olive oil, layer in bread, cheese, tomato, basil, salt and pepper, and top with a drizzle of olive oil. Top with another slice of beer bread. Brown both sides of the sandwich, eat.

    Ignoring the holiday plate, this was a gorgeous and tasty lunch.

    New, delicious sandwich made for me by my sister. Beer bread, honey ham, marble cheese, poached egg, grilled together to perfection.

Cabbage Taco Salad- Homemade Taco Spice Mix

I love making my own spice mixes. Ever since discovering that curry spice combo I’ve been looking for other ways to make my own spice blends. Tacos are not a favourite of mine but Gen loves them. I had intended to make fresh corn tortillas and do a tutorial for those (they are infinitely better than any store-bought ones) but horrifyingly I found that some bugs had made it into my Masa Harina and I had to chuck the batch. I am guessing they bunked down on the move from Calgary to Vancouver, but either way it was a bummer.

Plan B was taco salad. Gen has turned me into a cabbage eater. We never have lettuce with our tacos; the cabbage is crisp and cold and everything that lettuce is but more! It stands up well to the other ingredients and offers it’s own subtle bite. Anyway, I made this awesome taco seasoning and put the rest out for us to make delicious salads!

Cabbage Taco Salad

Ingredients

  • 2 lbs ground beef (or TVP, or lentils, chickpeas, etc.)
  • 2 tbsp chili powder
  • 1/2 tsp garlic powder
  • 1/2 tsp onion powder
  • 1/2 tsp crushed red pepper flakes
  • 1/2 tsp dried oregano
  • 1 tsp paprika
  • 1 tbsp ground cumin
  • 2 tsp sea salt
  • 1/2 head green cabbage shredded
  • 1/2 red onion sliced
  • 1 small bunch parsley
  • salsa
  • greek yogurt
  • 1/2 lime

Directions

  1. Mix together your spices in a small bowl. It will make more than you need, save the rest for another time.

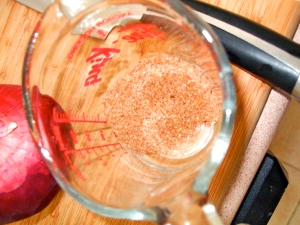
    I forgot to take pictures with all the spices out. This is the leftover spice mix.

  2. Brown the ground beef (or TVP or lentils) in a large pot with some coconut oil. Drain.
  3. Place the meat back into the pot, sprinkle 2-3 tbsp of the taco spices over top. Stir to coat the meat with the spices. Taste and add more if needed. Pour in 1/4 cup of water, stir and let simmer for a few minutes.
  4. Pile shredded cabbage on a plate. Top with taco meat, salsa, yogurt, sliced onions. Drizzle everything with lime and plunk some parsley on top.
  5. Yum. Genesis quote, “Refreshing, tasty, crunchy. We should eat this every week.” He actually suggested I replace my curry with this… not happening. This was super tasty and is sure to resurface many times this summer but that curry makes my heart sing. Case closed.

Meat all ready for the salads.

Ready to make some salads. Greek yogurt all the things!

Strawberries and Cream Crepes

This is a super easy recipe with everything you might have on hand. I started making crepes in the first year of my undergrad. I would make the crepes and my friend/roommate Carly would make bacon. We’d sit down with our other roommate and pass the plates of crepes and bacons between us, each taking turns rolling up a crepe and eating it before we passed it on to the next person. Ooooh being 18.

To this day, I am a crepe roller. Anyway, I made up this recipe after trying a quite a few. I figured out the proportions that worked best for texture and flavour. These can also be made savory (Gen is not a sweet fan) but today I needed to use up my extra strawberry puree from my Chocolate-Dipped Fresh Strawberry Cupcakes. So, here we go, simple crepes with a simple sauce!

Delicious crepes to start the day!

Strawberry and Cream Simple Crepes

Ingredients

  • 1 cup flour
  • 1 1/4 cup milk (more if needed)
  • 1 tbsp sugar
  • 1 tsp baking powder
  • 1 egg
  • pinch of salt
  • 1 tsp vanilla
  • strawberry puree
  • half-whipped whipping cream
  • powdered sugar

Directions

  1. Whisk together all of the ingredients for the crepes (flour, milk, sugar, baking powder, egg, salt, vanilla). Add more milk if needed, until you’ve reached a thin but still solid consistency… can coat a spoon but not too thick. * this is a trial and error thing.

Ready for the pan

2. Drop a tbsp or so of coconut oil (or any other mild flavour oil) into a large pan and heat to medium-hot. Ladle a scoop of batter into the pan and swirl to fill. The first crepe is an oil-absorber, it soaks up the extra oil and leaves the pan ready for the rest.

Yum.

3. Continue to pour scoops of batter into the pan. Flip when the crepe just stops looking wet. As the pan get’s hotter this happens quick, I recommend turning down your heat a notch or two once things are going. Slide finished crepes onto a plate in a stack.

4. Mix your leftover strawberry puree (or make strawberry puree: strawberries sliced with a sprinkle of sugar, let them sit and juice for an hour, puree with a handblender) with some shaken whipping cream. I literally just took some leftover whipping cream from the fridge and shook it until it thickened slightly. Stir together but not completely, it is nice to have some nice swirls.

5. Smear your crepes with the strawberries and cream sauce, sprinkle with some powdered sugar, rollup, sprinkle again with some powdered sugar.

6. Eat.

Ready for mouth.

Caprese Salad

Not much of a recipe but a celebration! I love Caprese Salad. I could eat it daily.

Oh dear. Deliciousness.

Mozzarella di Bufala (or if you don’t have this, a soft cow mozzarella, though it wont be as amazing)

Extra virgin olive oil

Basil

Ripe tomato

Slice the cheese and tomato. Rip the basil leaves over everything. Drizzle with olive oil. Devour.

Chocolate-Dipped Fresh Strawberry Cupcakes

Well these cupcakes were an incredible hit. And how could they not be! I made this strawberry cake with a few adjustments, my favourite buttercream chocolate and strawberry-style, and I dipped the tops in melted chocolate. They were awesome. The cake in particular is amazing, it is rich with strawberry flavour. I could eat the cake all day. All day long.

Chocolate-Dipped Fresh Strawberry Cupcakes

Adapted from this recipe.

Ingredients

  • 6 cups  very ripe fresh strawberries, hulled
  • 1 tbsp sugar
  • 1/2 cup milk, at room temperature
  • 8 large eggs, room temperature
  • 2 tbsp vanilla extract
  • 4.5 cups all-purpose flour
  • 3.5 cups sugar
  • 8 tsp baking powder (or 2 tbsp and 2 tsp)
  • 2 tsp salt
  • 1.5 cups butter, softened (not melted)
  • 2 cups (or more if needed) semi-sweet chocolate chips (or dark chocolate, I didn’t have any on hand)
  • 1.5 tbsp shortening

Directions

  1. Toss sliced and hulled strawberries in a bowl with the 1 tbsp of sugar. Let the strawberries sit and generate some delicious juiciness. Puree the strawberries with a hand blender (works great, you just need to move it around).

    Before and after. Pour the leftover puree on EVERYTHING. (Maybe not on meat)

  2. Reserve 2 cups of the puree for the cake. Use leftover puree as a filling/topping for the cupcakes or fold into the frosting, if desired (I folded the puree into some chocolate buttercream).
  3. Preheat oven to 350 degrees and line cupcake tins.
  4. In medium bowl, combine puree, milk, egg, vanilla and mix with fork until well blended. In a large bowl, add flour, sugar, baking powder, and salt and mix to combine. Continue beating at slow speed and add butter. Mix until combined and resembling moist crumbs.
  5. Add liquids and beat at medium speed for about 1 minute, until combined. Stop mixer to scrape down the sides of the bowl and mix for 30 more seconds. Fill the cups 2/3 of the way.
  6. Bake for about 20 minutes or until the tops are spongy to the touch (time will vary). Once cool enough, place cupcakes on a rack and allow to cool completely before icing (about 30 mins).
  7. Prepare some Dreamy Buttercream (or your favourite frosting) and mix in 2-4 tbsp of cocoa (or more if you like it that way) until chocolatey enough for you. Fold in 1/2 cup strawberry puree (this step can be skipped, it does make the frosting a little slippery but it also adds a brilliant tartness that lightening it a bit).
  8. Frost the cupcakes in a swirl. Once frosted, place the cupcakes in the fridge to set the frosting, about 15 minutes.
  9. Meanwhile, melt 2 cups of semisweet or dark chocolate with 1.5 tbsp of shortening (it thins it out for dipping and allows it to set nicely). I microwaved my chocolate and shortening for about 45 seconds and then stirred until it was completely smooth. Let the chocolate cool for a few minutes but not set.
  10. Pour the chocolate into a deep bowl or cup/mug (deep enough that the icing wont hit the bottom). Dip each cupcake straight down into the chocolate, hold upside down to drizzle off the excess, set aside. Let the cupcake set for a few hours (in the fridge or at room temperature, works either way).
  11. Devour.

Naked cupcakes. These were amazing on their own... which you can see by the half-eaten one.

Dipped!

Cupcake anatomy. Layers of deliciousness.