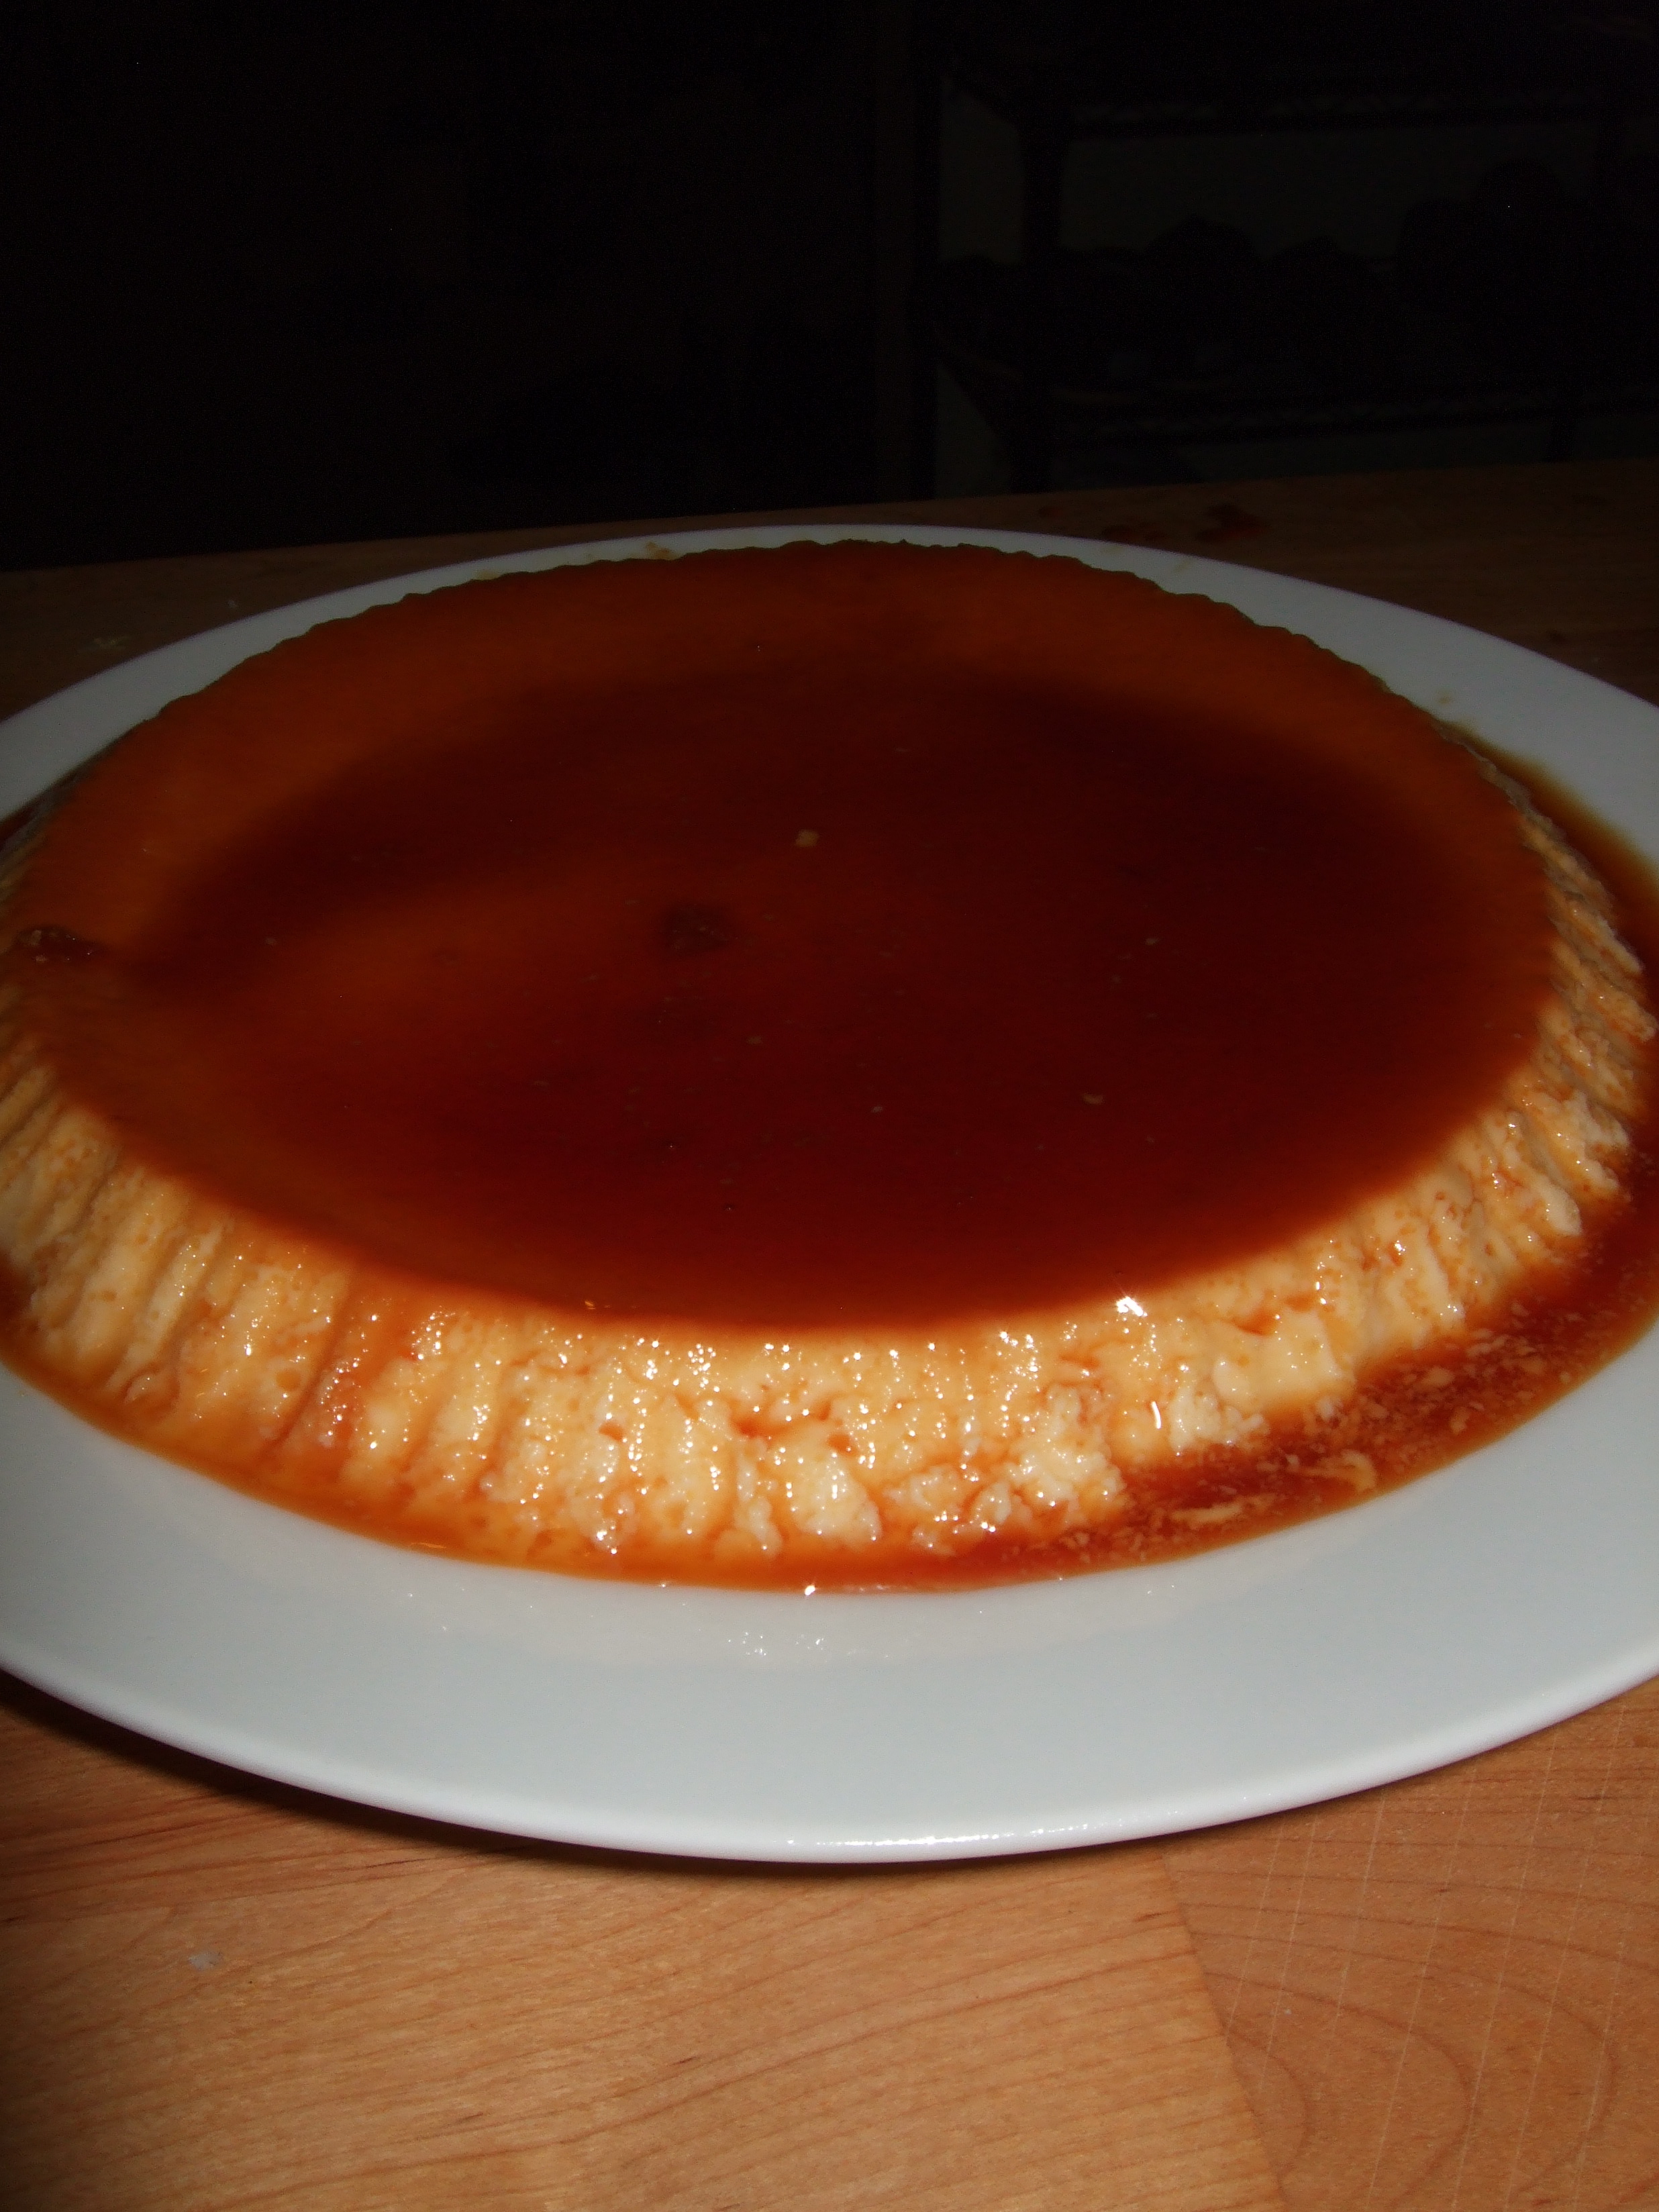
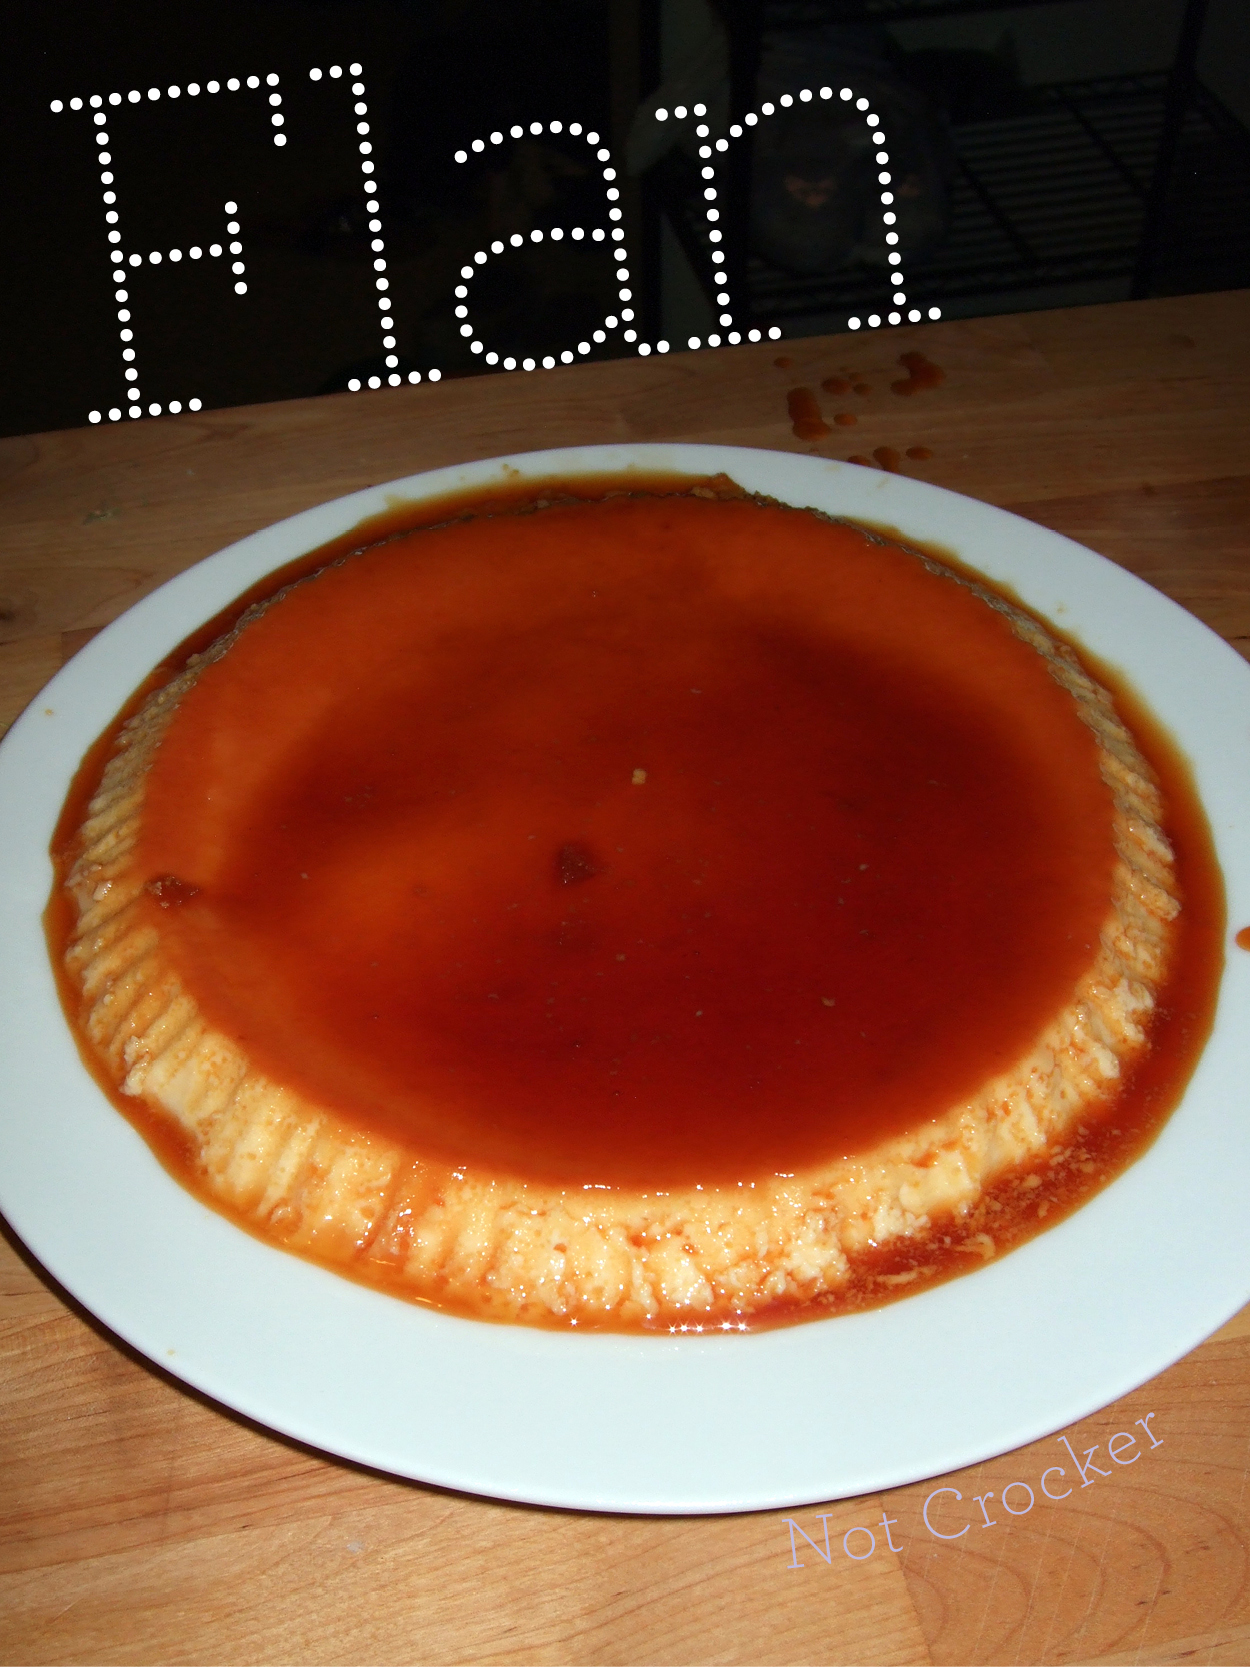
Flan, super easy recipe from Nigella Lawson

I was pretty hesitant of this recipe when I first read it, because canned milks freak me out… but it is AWESOME. The flavour and texture are spot-on. My El-Salvadorian dude loves it and is disappointed when I don’t make it (or make it at someone else’s house and don’t have any to bring home… sorry Gen!). It is super easy, but it does take some patience, it needs to set for four hours, or overnight. But it is worth it.

Flan

Recipe found through this great blog, originally from Nigella Express 

Ingredients

  • 3/4 cup sugar
  • 1 (12 oz) can evaporated milk
  • 1 (14 oz) can sweetened condensed milk
  • 3 large eggs
  • 2 tsp vanilla

Directions

  1. Preheat oven to 325°F.
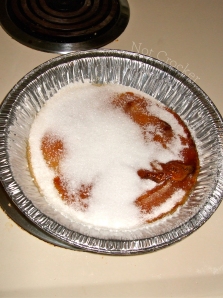
  2. Pour the sugar into a 9″ metal pie plate (must be metal, you are heating this directly on the stove). Place the pan over low heat until the sugar begins to caramelize, becoming liquid, syrup. Swirl the sugar every now and then as it melts. Press the larger chunks of unmelted sugar down to encourage their melting. Your spoon will be coated in hard caramel, run it under hot water to clean it after. The sugar will begin to caramelize-just before the sugar reaches the color of maple syrup, take the pan off the heat and place it on a cool surface. This process isn’t kind to your pie pan, it doesn’t wreck it, but it will likely discolour after a couple times. I used two reusable pie plates when I was over at my friend’s and they worked well.
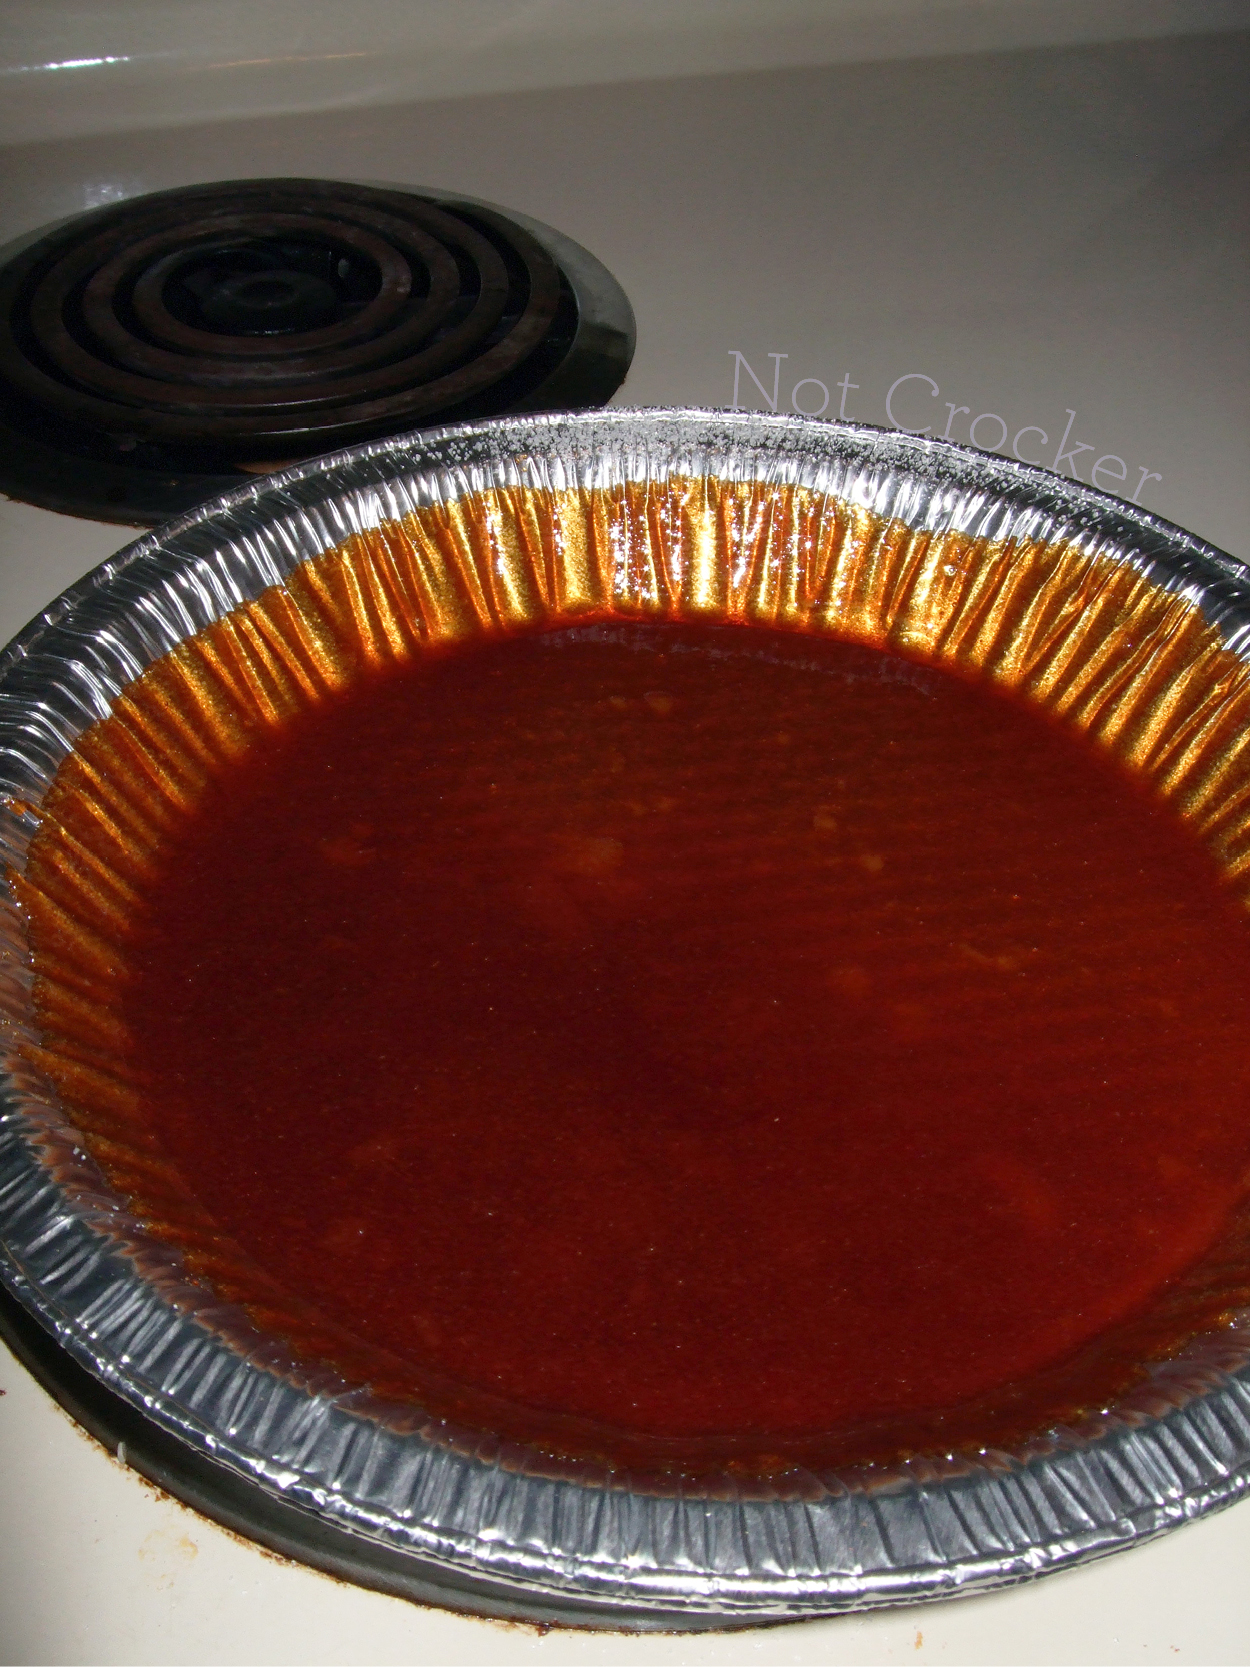
  3. Swirl the caramel up the sides of the pan and set aside
  4. Boil a kettle of water (for the water bath).
  5. Whisk together the evaporated milk, sweetened condensed milk, eggs, and vanillas.
  6. Place your pie pan into a roasting pan (or another deep oven-safe dish)
  7. Pour the milk mixture into caramel-coated pie pan (it will go right to the top, this is why you put it in the roasting pan first).
  8. Pour the boiling water into the roasting pan, up to 1 inch deep.
  9. Carefully slide the whole shebang into the oven (some might slosh, that’s cool). Cook for 45-50 minutes, until set. It may still seem wobbly after 50 minutes, but don’t leave it longer.
  10. Let the flan cool on the counter, out of the roasting pan. When cool, cover with plastic wrap and put in the fridge for 4 hours, or overnight.
  11. Eating time?! Place a large plate over the pie pan, carefully and quickly flip it over and let the flan fall out (you might have to run a butter knife down the side to encourage movement). Cut in wedges and spoon the syrup over each slice.

Shepherd’s Pie another way, recipe from Guest cook: Caelin

My friend Caelin is Carrie Bradshaw; she loves shoes, drinks out, writing, and she may or may not use her oven as a sweater warmer more often than for food. Oka, okay she is not actually Carrie Bradshaw, mostly because she does not have mysterious source of shoe-income, does not live in New York, does not have a TERRIBLE love life (Dave is lovely, did Carrie ever even have a British bloke?), and well, that might be it. In any case, she has one food recipe that she can make and she proposed we make it together for the blog, Gordon Ramsey’s (ha! of course) Shepherd’s Pie. It was delightful! The making of the food involved the requisite alcohol consumption, great night, 10/10, will do again. Oh, also check out her blog! The Life and Lies of Caelin Charge, she’s cool.

Gordon Ramsey’s Shepherd’s Pie

This recipe is tasty, and a different style than my previous shepherd’s pie. It’s funny, when Gen and I first started dating I made him a super simple shepherd’s pie, similar to my original post, he LOVED it but said he could do better. Months later he cooked up a tomato-based shepherd’s pie that was… terrible is not the right word, not-as-good is more like it. Anyway, with this memory, I was reluctant about the tomato in this recipe, but it was good, warm, homey. Also, I know, I know it’s Shepherd’s Pie when made with lamb, it’s a Cottage Pie when made with beef, and apparently it’s a purist’s dream when made with sheep, but for familiarity’s sake, we are calling it Shepherd’s Pie, even if you choose beef.

Ingredients

Meat

  • 2 tbsp olive oil
  • 1.5 lbs ground lamb or beef
  • 1 large carrot, diced
  • 1 large onion (any colour), diced
  • 1 stalk of celery, diced
  • 1/2 tsp fresh Rosemary (or 1/4 tsp dried)
  • 1/2 tsp fresh thyme (or 1/4 tsp dried)
  • 4 cloves garlic, minced (or crushed in a press… Caelin and Dave have THE WORST GARLIC PRESS EVER)
  • salt and pepper to taste
  • 2 tsp Worcestershire Sauce
  • 1 small can of tomato paste
  • 1/2 (up to 3/4) cup of your favourite red wine (also known as a few glugs)
  • 1/4 cup chicken stock

Potatoes

  • 1.5 lbs of your favourite potatoes, we made it with reds this time, skin on!
  • 1/4 cup of cream
  • 3 1/2 tbsp butter
  • salt and pepper to taste
  • 1 cup fresh grated parmesan cheese

Directions

  1. Cube your potatoes, boil some water with a pinch of salt, add your potatoes, boil for 15 minutes, until tender. In the meantime start your meat section.
  2. Preheat oven to 400°F.
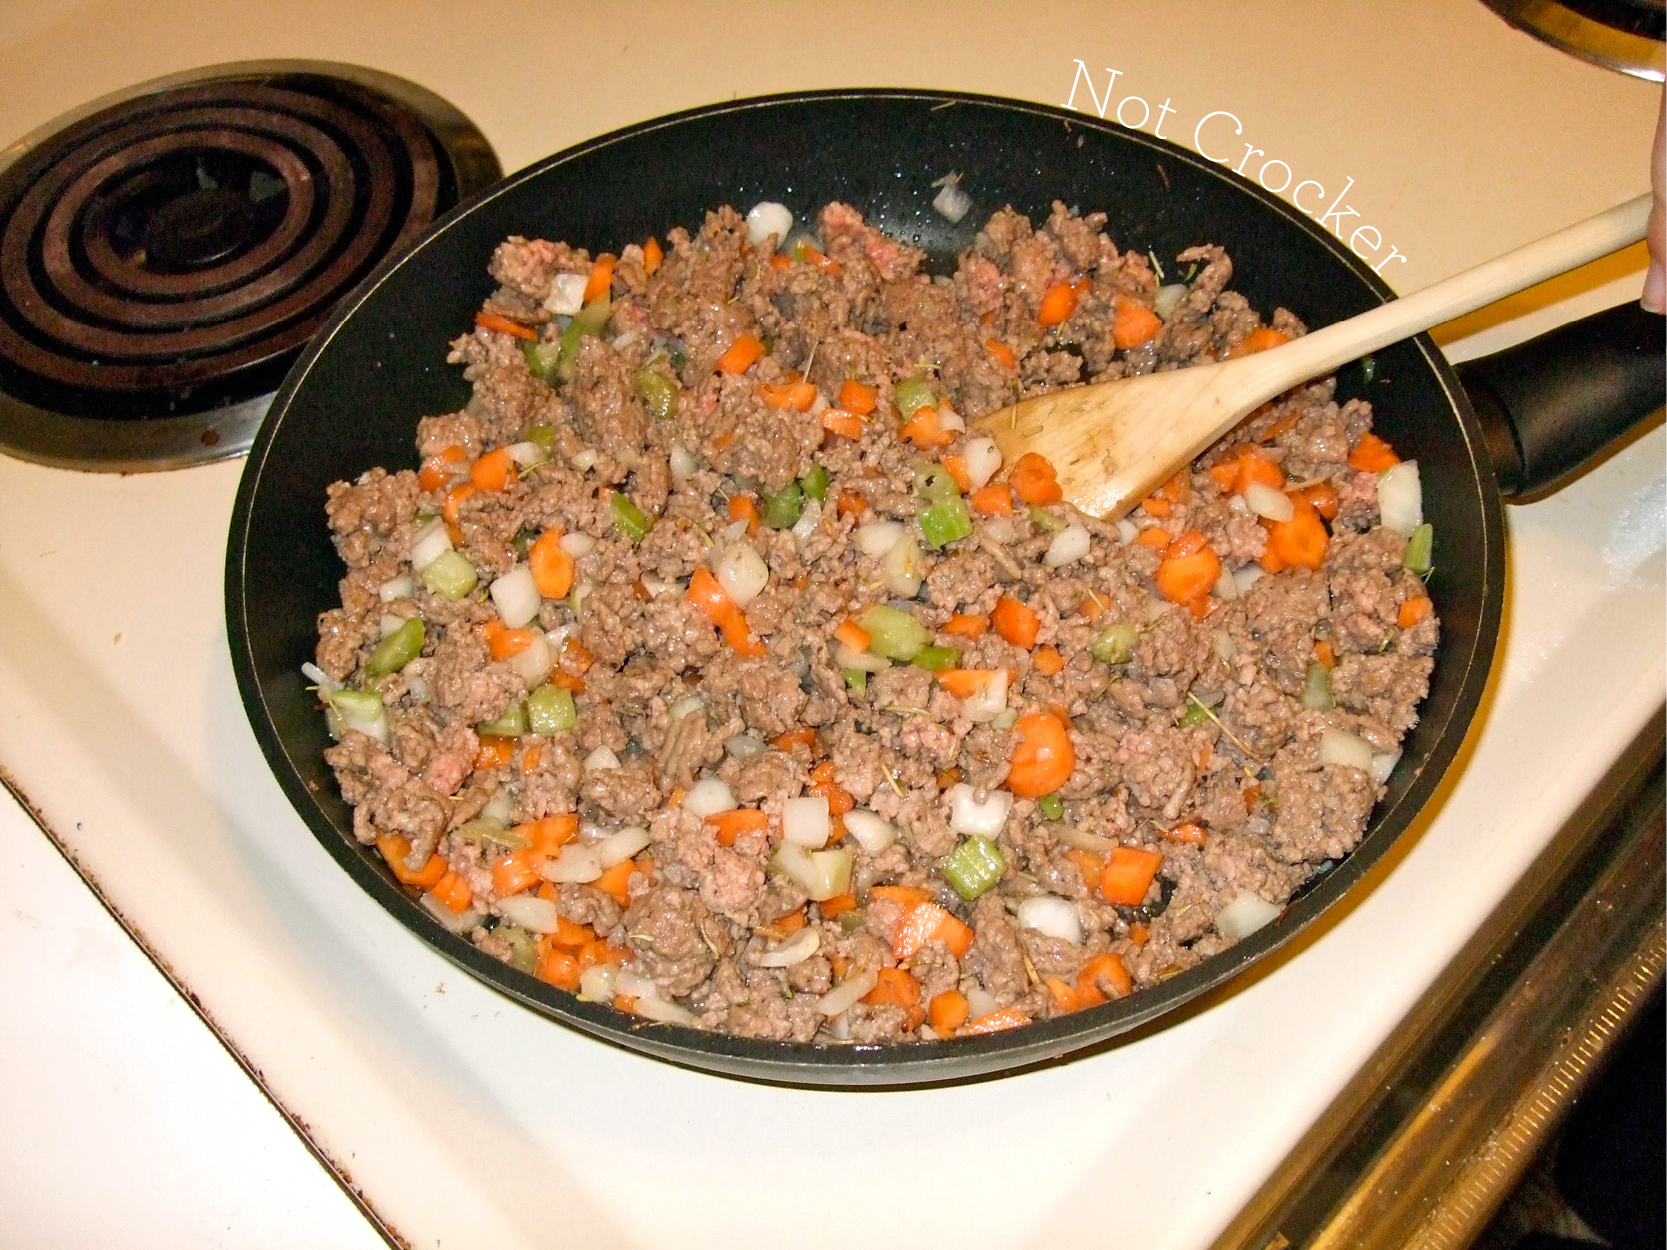
  3. In a hot, large pan, add your olive oil and ground lamb or beef. Stir over medium-high heat to brown the meat, as you are stirring, break the meat up with your spoon until it is in small pieces and fairly even. Add your rosemary, thyme, and garlic, and continue stirring. Add your carrot, onion, and celery, and continue stirring over medium heat until everything is nice and fragrant and well-combined.
  4. Add Worcestershire sauce, tomato puree, and red wine, stirring well to evenly combine. Allow the mixture to cook down over medium heat for a few minutes.
  5. Add the chicken stock and allow the mixture to cook down again for 3-5 minutes.
  6. While the meat mixture is simmering, strain your potatoes, add the cream, butter, salt and pepper, and half (1/2 cup) of the parmesan cheese, and mash well to combine and smooth.
  7. Spread the meat evenly in the bottom of an 8 x 8 casserole dish. Top with the mashed potatoes and sprinkle with the remaining parmesan cheese.
  8. Cook in the 400°F oven for 18-20 minutes, until the meat is bubbling and the potatoes have golden bits.

Stirring, cooking down, tasting, salt and peppering as needed.

Lovely layers of deliciousness. DIG IN (oh, wait, this was before we put it in the oven… cook for 18-20, then dig in)

Brown Butter Cupcakes with Dark Chocolate Swiss Meringue Buttercream

The title is a mouthful and a bit misleading because while my intention was to make dark chocolate swiss meringue, it turned into more of a dark chocolate-kissed swiss meringue buttercream drizzled with dark chocolate. In any case, these are my favourite whiteish cupcakes topped with a fluffy cloud of buttercream. Neither the cake nor the buttercream are super sweet so this makes for a fantastic bite.

Brown Butter Cupcakes

Recipe from here.

Ingredients

  • 1 cup butter
  • 2 1/2 cups flour
  • 2 1/4 tsp baking powder
  • 1/4 tsp salt
  • 2 cups sugar
  • 4 eggs, room temp
  • 1 cup room-temperature milk
  • 1 1/2 tsp vanilla

Directions

  1. Use the cup of butter to make brown butter as per this post. Allow your browned butter to cool while you start the rest.
  2. Preheat oven to 325°F and prepare your cupcake tins with liners. (if using full-sized cupcake tins, preheat to 350°F)
  3. Combine the flour, baking powder, and salt in a medium bowl. Set aside.
  4. In a large bowl, beat sugar and eggs until fluffy and pale, about a minute. Add milk, browned butter, and vanilla, mixing until just combined.
  5. Add half of the dry mixture and beat, again, until just combined. Repeat with the second half. Don’t overmix, this is the key.
  6. Divide batter amongst liners and bake for 15-20 minutes (18-22 mins, if making full-sized cupcakes), until tops are springy to the touch or a toothpick poked into the center comes out clean. Start checking at 10 minutes as mini-cupcakes bake quickly.
  7. Cool tins on a rack for 2 minutes before carefully removing the cakes. Allow to cool completely before frosting (this will be 5 minutes if you made mini cupcakes, they take no time at all to cool).

Ready for the oven.

Fresh out of the oven!

Topped with my first attempt at Swiss Meringue Buttercream and drizzled with dark chocolate!

Swiss Meringue Buttercream (easier than it sounds, don’t be afraid of the curdle!)

So, I have my favourite regular buttercream recipe, Dreamy Buttercream, but I’ve wanted to try swiss meringue buttercream ever since I saw Sweetapolita‘s  (ugh even the name is great!) tutorial. Her tutorial makes this fluffy, cloud of an icing seem simple and less scary. And it was only with her encouragement that I managed to pull this off. So here is the recipe, my additions, my experience, and my mini-tutorial. The results can be seen in the next post, as the topping for my Brown Butter Cupcakes.

Satiny, glorious swiss meringue buttercream!

Swiss Meringue Buttercream

See Sweetapolita’s recipe and tutorial here!

Ingredients (this makes 15 cups, my measurements for 1/4 of the recipe follow each ingredient)

  • 16 large egg whites (4 large egg whites)
  • 4 cups white sugar (1 cup white sugar)
  • 5 cups of unsalted butter, softened but cool, cut into cubes (1 1/4 cups unsalted butter)
  • 2 tbsps pure vanilla extract (1 1/2 tsp vanilla)
  • 1/4 tsp salt (tiny pinch o’salt)
optional extra
  • 200gr dark chocolate (I used 70%)

Directions

  1. Wipe the bowl of an electric mixer (or just a metal bowl if you are mixerless, though this is WAY easier with a mixer),  whisk attachment, and whisk with paper towel and lemon juice (or vinegar), to remove any trace of grease.
  2. Add egg whites and sugar to the metal bowl,  and simmer over a pot of water (not boiling), whisking constantly but gently, until the sugar has completely dissolved and the egg whites are hot (smoosh some between your fingers, if it is smooth, no granules, you are good).
  3. Take off of stove, and begin to whip (with the mixer or by hand)until the mixture is thick, glossy, and neutral (you can feel outside of the bowl to test temperature, this takes some time).
  4. Switch over to paddle attachement, or a good spoon, and, while mixing continuously on low speed, add butter one cube at a time until incorporated.
  5. Mix until it has reached a silky smooth texture.
  6. Add vanilla and salt, mix well. You can also add a wide variety of flavourings, extracts, and more. If buttercream is too runny, the butter was possibly too soft–place into the refrigerator for about 15 minutes, then beat again. If still too runny, add a few more cubes of butter and keep beating until it reaches Use immediately, or refrigerate/freeze.

Picture tutorial time!

Whipping the meringue. Dig in, this stuff is glorious!

  1. Wipe the bowl of an electric mixer (or just a metal bowl if you are mixerless, though this is WAY easier with a mixer),  whisk attachment, and whisk with paper towel and lemon juice (or vinegar), to remove any trace of grease.
  2. Add egg whites and sugar to the metal bowl,  and simmer over a pot of water (not boiling), whisking constantly but gently, until the sugar has completely dissolved and the egg whites are hot (smoosh some between your fingers, if it is smooth, no granules, you are good).
  3. Take off of stove, and begin to whip (with the mixer or by hand)until the mixture is thick, glossy, and neutral (you can feel outside of the bowl to test temperature, this takes some time).

    Adding butter.

  4. Switch over to paddle attachement, or a good spoon, and, while mixing continuously on low speed, add butter one cube at a time until incorporated.

    AHH curdling! It’s alright, now is the time to save it! It’s easy!
    Just put the bowl in the fridge for 10 minutes, pop it back in the mixer and get to work. It took about 10 minutes of low, slow mixing for it to come together but it was totally worth it!

  5. Mix until it has reached a silky smooth texture.

    It’s hard to tell, but it is finally coming together here, everything is fluffing up, smoothing out, and making heaven.

  6. Add vanilla and salt, mix well.  Use immediately.
  7. If you are adding flavourings, do it at the end. Replace the vanilla with another extract. OR, do as I did, melt 200gr of dark chocolate and allow to cool. Drizzle the chocolate into the buttercream while it is on low. Top your mini cupcakes and then drizzle with an additional bit of melted dark chocolate that has been thinned slightly with some shortening.

Walnut Feta Dip

I was inspired to create this dip by this recipe of the same name. As I’ve mentioned before, we have been eating a lot of walnuts lately and we had a ton of feta left over from the pizza, so it was the perfect time to try out this dip. I always make a point of making something once before adjusting it. This time, it only took me as long as I mixing it to know it needed some adjustments to be right for me. I’ve done so much to the original recipe that I will be calling it an inspiration rather than an adaptation. The original was good, but was a little much for me, with some changes this dip is rich but also lighter and brighter.

Walnut Feta Dip

Inspired by Princess Misia’s Roasted Walnuts & Feta Dip

Ingredients

  • 1 1/2 cups walnuts (halves, shelled)
  • 2 cups of feta
  • a tsp of brine if you want
  • 1/4 cup greek yogurt
  • 2 tbsp olive oil
  • 1/2 lemons worth of juice
  • 1/4 cup milk

Directions

  1. Place everything in a food processor and blend into as smooth as possible/as smooth as you’d like. Taste, adjust flavours as necessary (maybe more lemon, maybe some of your favourite herbs).
  2. Serve with veggies, pita, chips, a spoon.