Dark Chocolate Mousse!

I love chocolate, particularly dark chocolate and this mousse is a celebration of my love! It takes a few bowls, but is totally worth it. It is light and airy, mousse-style; rich and indulgent, dark chocolate-style. I like to top it with some fresh summer berries, a dollop of lightly-sweetened whipped cream, or a quick drizzle of liqueur. I served this to a small party of friends I had over last night, quote of the night came from Tobias who said, “THIS IS THE BEST THING I HAVE EVER PUT IN MY FACE.” I think that is what he said, other friends, correct me if I am wrong.

Dark Chocolate Mousse

From this submission.

Ingredients

  • 1/3 cup white sugar
  • 6 tbsp prepared, strong coffee
  • 225 g dark chocolate (I prefer in the 70% range) (7oz)
  • 1/4 cup whipping cream
  • 3 large egg whites
  • 1 1/2 cups chilled whipping cream

Directions

  1. In a saucepan, dissolve sugar in coffee over medium heat. Set aside.
  2. In the top of a double boiler over hot, (not simmering or boiling) water, melt the dark chocolate, stirring constantly, until smooth. When completely melted, whisk in the 1/4 cup of cream and the coffee/sugar mixture. Stir until smooth. Allow to cool.
  3. Beat egg whites to soft peaks. Gently fold in 1/2 cup of the cooled chocolate mixture. Pour this latter mixture back into the chocolate mixture, folding gently.
  4. Beat chilled cream to soft peaks, and fold into chocolate mixture, very gently until totally mixed.
  5. Pour mousse into a large serving bowl, or 8 individual dessert glasses. Cover with plastic wrap, chill for 4 hours or overnight.

Step-by-step

  1. In a saucepan, dissolve sugar in coffee over medium heat. Set aside.
  2. In the top of a double boiler over hot, (not simmering or boiling) water, melt the dark chocolate, stirring constantly, until smooth. When completely melted, whisk in the 1/4 cup of cream and the coffee/sugar mixture. Stir until smooth. Allow to cool.

    Melting away on my makeshift double boiler.

  3. Beat egg whites to soft peaks. Gently fold in 1/2 cup of the cooled chocolate mixture. Pour this latter mixture back into the chocolate mixture, folding gently.

    Looks like bad news but it will come together! The key is slow folding!

    Tah dah! Eggs and chocolate, well combined!

  4. Beat chilled cream to soft peaks, and fold into chocolate mixture, very gently until totally mixed.

    Ready for the big chill. This doesn’t look like a lot, but it is a very big bowl!

  5. Pour mousse into a large serving bowl, or 8 individual dessert glasses. Cover with plastic wrap, chill for 4 hours or overnight.

Warning: May cause extreme happiness.

Yuca Fries- If bread and potatoes had babies, it would be yuca.

Genesis gets excited once in awhile about food from his country, El Salvador. One of these things is yuca. We don’t have it often, but it is always a treat when we do. The texture of yuca is fluffy, and dense. It is like a super rich potato crossed with fluffy bread. You’re confused, I understand, just trust me. Oh, and yuca looks like a waxy log, and when you peel it it smells like lavender… so there’s that too. But, once you’ve peeled it, cut out any brown spots, boiled it briefly, and baked it, you have awesome fries. Give it a shot! Hell, I might even try mashing them, I’ve heard good things!

Waxy logs, see, I told you! Scroll down for the interior-deliciousness.

Yuca Fries

Ingredients

  • Two yuca roots (see above)
  • your favourite oil
  • salt

Directions

  1. Preheat your oven to 400°F.
  2. Peel your yuca well. It is easy to do, that skin is not as thick as it looks and feels.
  3. Cut the yuca into three even chunks, cut those chunks into fry-sized wedges.
  4. Fill a large pot with water and some salt, bring to a boil. Add yuca. Boil your yuca for 8 minutes, this will help the baking.
  5. Drain the yuca and pat dry. Some of the yuca might seem a little gummy, this will sort itself out during baking.
  6. Lay the yuca on a parchment-covered cookie sheet and drizzle well with oil. Toss to coat. Sprinkle with salt (and spices of your choosing).
  7. Bake for 20-25 minutes, flipping once, until crisp and browned on the outside, creamy on the inside.
  8. Dip into Basil Aiolior even Walnut & Feta Dip!

Tasty (half batch) yuca fries with Walnut Feta Dip.

Kale and Feta Braid with pine nuts and caramelized red onion

As evidenced by my kale chips of yesterday, I bought a ton of kale that I needed to use up, and I wanted to try something new. My mom makes this killer chicken and broccoli braid, which I will make one day, and I thinking of that tasty loaf, I decided to use up my extra kale, some of the BUCKET of feta that Gen brought home from Costco, the red onions I have on hand, and those pantry favourites, pine nuts. This was easy, delicious, and perfect as a meal. I also finally made my challah bread perfectly, so HUZZAH!

Kale & Feta Bread

Time: 1 hour of rest for the challah + 15 minutes prep of braid ingredients + 30 minutes rest of braid + 30 minutes baking= 2hrs 15 mins to deliciousness (totally worth it)

Ingredients

  • 1 large red onion
  • 1 bunch of kale
  • 1/4 cup pine nuts
  • 1 1/2 cup feta
  • olive oil
  • salt and pepper to taste
  • 1 egg
  • 1 1/2 tbsp poppy seeds

Directions

  1. Make your challah dough! It has to rest for 1 hr, so prepare for this.
  2. After the challah has rested for about 45 minutes, start the rest of the braid, saves you time!
  3. Wash kale, cut out the spine, and sauté with a drizzle of oil in a pan over high heat for 5-8 minutes, until wilted. Salt and pepper to taste. Set aside on paper towel to absorb excess moisture.
  4. Sauté onions with another drizzle of olive oil over high heat. Cook for 5-8 minutes until translucent and beginning to brown.  Set aside.
  5. Roll out 2/3 of the Challah dough (reserve the rest for some sugary rolls) into a rectangle, about 1/4-1/2 inch thick.
  6. Crumble the feta in a row down the centre of the dough. Layer the kale evenly on top of the feta, followed by the onions and pine nuts.
  7. Using a pizza cutter, cut 1 inch strips along the side of the dough. Twist the strips and pull across the filling, alternating sides. Fold the ends in and pinch to seal. Move the braid onto a parchmented cookie sheet. Allow to rest for 30 minutes.
  8. Preheat oven to 350°F.
  9. In a small bowl, beat the egg with a fork and brush onto the braid. Sprinkle with poppy seeds.
  10. Bake the braid for 20-25 minutes.

Step-by-step!

  1. Make your challah dough! It has to rest for 1 hr, so prepare for this.

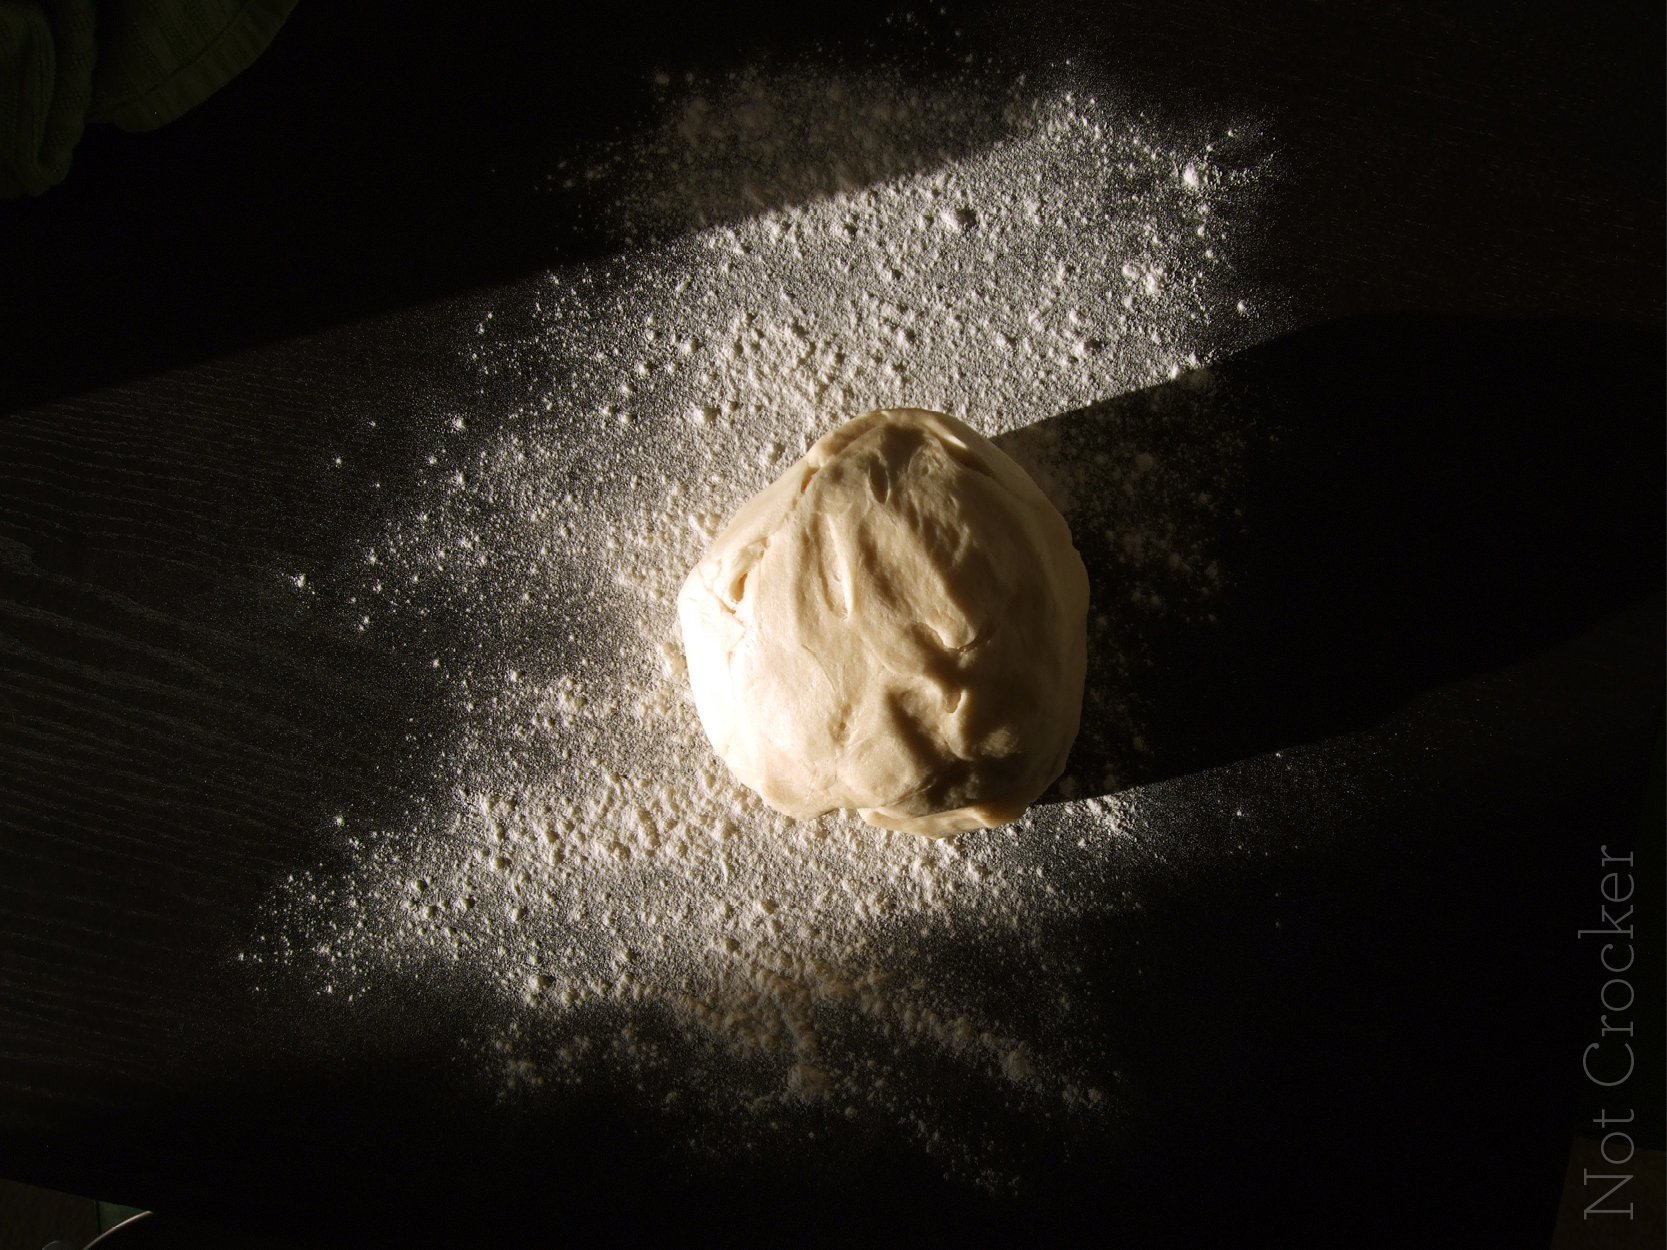
    Dough ready to roll.

  2. After the challah has rested for about 45 minutes, start the rest of the braid, saves you time!
  3. Wash kale, cut out the spine, and sauté with a drizzle of oil in a pan over high heat for 5-8 minutes, until wilted. Salt and pepper to taste. Set aside on paper towel to absorb excess moisture.
  4. Sauté onions with another drizzle of olive oil over high heat. Cook for 5-8 minutes until translucent and beginning to brown.  Set aside.

    Onions and kale, cooking down.

  5. Roll out 2/3 of the Challah dough (reserve the rest for some sugary rolls) into a rectangle, about 1/4-1/2 inch thick.
  6. Crumble the feta in a row down the centre of the dough. Layer the kale evenly on top of the feta, followed by the onions and pine nuts.

    Layered and ready for ‘braiding’

  7. Using a pizza cutter, cut 1 inch strips along the side of the dough. Twist the strips and pull across the filling, alternating sides. Fold the ends in and pinch to seal. Move the braid onto a parchmented cookie sheet. Allow to rest for 30 minutes.

    Resting away.

  8. Preheat oven to 350°F.
  9. In a small bowl, beat the egg with a fork and brush onto the braid. Sprinkle with poppy seeds.

    Egg-washed and poppy-seeded, ready for the oven!

  10. Bake the braid for 20-25 minutes.

So flipping tasty!

Challah (Easter Bread)- Updated with proper photos and recommendations!

Well I am loving bread making, but I’ve only made savoury breads (no complaints about this) and wanted to try my hand at something sweeter. I thought that an Easter Bread would be perfect after seeing them everywhere. I will admit that I am a novice at yeast breads and this one did not come together as attractively as I would’ve liked it to but it was delicious and I made some outrageously delicious french toast from it, so no problems here.

UPDATE: Check out the new process photos. I finally made a pillowy-perfect loaf. I am thrilled. And check out the Kale and Feta Braid I made from this lovely dough!

I am going to try another similar bread soon and see if I can get my kneading technique down. As you can see here and in the finished loaf, the crumb was small and it was not nearly stretchy enough for my tastes. I will figure it out, it is sure fun trying things!

Easter Bread

Ingredients

  • 3 3/4 – 4.5 cups all-purpose flour
  • 1/3 cup butter
  • 2 eggs
  • 2 tbsp active dried yeast
  • 3/4 cup milk, just warmed
  • 1/2 cup + 2 tbs sugar
  • 1/4  tsp salt
  • 1/2 tsp cardamom (my favourite sweet spice right now)
  • 1 beaten egg, sprinkle of sugar

Directions

1. Lightly stir the yeast with the milk and a large pinch of sugar, leave until it starts to foam. Whisk the flour and salt in a large mixing bowl then stir in the cardamom.
2. Melt the butter and sugar together until the sugar has disolved (or mostly). Let cool.

Getting ready for the full combination.

3. Whisk the eggs in with the yeast mixture.
4. Add the melted butter mixture and the yeast mixture to the flour. Mix to combine, until a dough has formed that pulls away from the bowl.
5. Knead the dough vigorously for 8-10 minutes on a lightly floured surface. The dough is ready when it feels soft, springy, and smooth and leaves a thumbprint when pressed.
4. Shape the dough into a ball and place in a lightly oiled bowl. Cover with a clean, damp cloth and leave to rise until doubled in size (about 1 hour).
5. Knock back the dough on a clean surface by punching the air out and kneading for 1 minute. Divide the dough into 3 equal pieces then roll each piece into sausages. Braid the dough and tuck the ends underneath.
6. Lift the braided loaf onto a parchment covered baking sheet, cover with a damp cloth then leave to rise for about 1 1/2 to 2 hours, or until doubled in size.
7. Heat oven to 350 F. Brush the loaf with the beaten egg and sprinkle lightly with white sugar. Bake for 25-30 minutes until the loaf is golden brown and sounds hollow when tapped underneath. Cool on a rack before slicing.

The dough is cleaning the bowl. Huzzah! Success!!!

Smooth and elastic, finally some wonderful success!

Golden loaf.

Mmm delicious and ready for french toast.

Kale Chips, easy and delicious treat that is healthy!

Kale is tasty when sautéed with some garlic, but I’ve been hearing so much about kale chips, that I had to try for myself. Kale was super cheap at IGA on the weekend, so I bought a couple bunches and gave it a shot. These are so thin and crisp, so delicious! Most of them kept their deep green colour, which I liked, but those that browned a little were still fantastic. These can be easily flavoured, and I am going to try that with my next batch, but the simple salt and olive oil version was great for a first shot. Don’t be afraid of these, I was, crispy greens is not something that normally tickles my fancy, but this just seemed right.

Kale Chips

Three ingredients

  • 1 head of kale
  • 2 tbsps olive oil
  • salt to taste (I used about 1 tsp)

Directions

  1. Preheat oven to 280°F
  2. Wash your kale.
  3. Cut away the… spine… of the kale leafs. Cut the kale into 2-3 inch pieces.
  4. Place kale on a parchment-papered cookie tray, sprinkle with oil and toss to coat.
  5. Sprinkle with salt, toss again to evenly salt.
  6. Spread the pieces fairly evenly on the tray.
  7. Cook for ten minutes, gently flip, cook for another 10. Devour.

Tossed in oil, ready for some salt (and spices in the future, check back next week!)

Munching time! Gen loved these.